
Still life photography project idea – Mobile phone photography
After my previous post about black and white still life photography, which put forward the idea that it wasn’t necessary to possess massively expensive equipment in order to take good photographs, I wanted to take it a step further. What better way to test this idea than by using something that the vast majority of us have in our pockets, a mobile phone. Some boast a ridiculous amount of pixels relative to the size of the camera sensor and plenty of manual controls, some can even shoot in RAW which is interesting, yet admittedly camera phones aren’t something I’ve spent much time experimenting with. The majority of the photographs stored on my phones photo album are of documents or to do lists.
There are plenty of phone apps available that will add fancy filters to your images, but this relinquishes alot of control, instead I opted to simply use the software installed on the phone to control exposure and I would edit in Lightroom as I would any other photograph. The iphone, HTC and Nokia phones all have very basic exposure controls built in, so with some manipulation of light, excellent still life photographs should still be possible with just household items.
The setup:
For this I used a 60watt lightbulb, a HTC OneMini, parcel tape and some black card, that’s it.
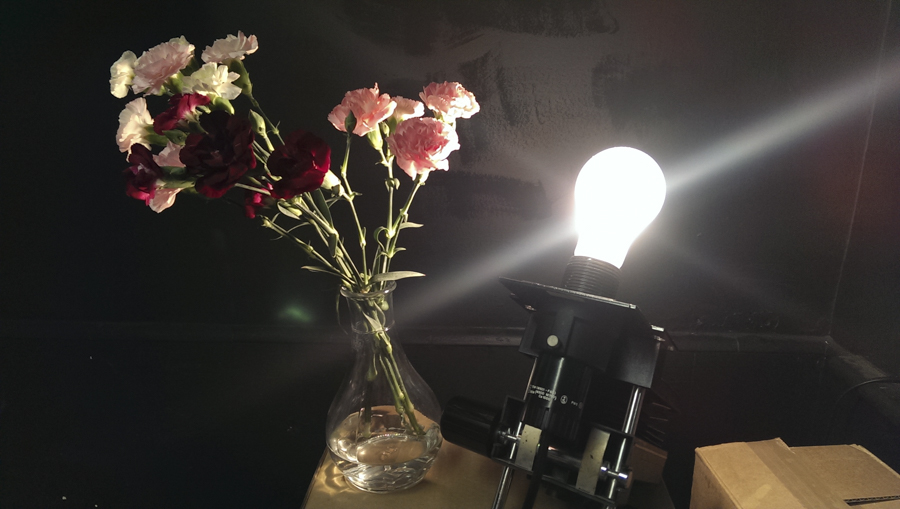
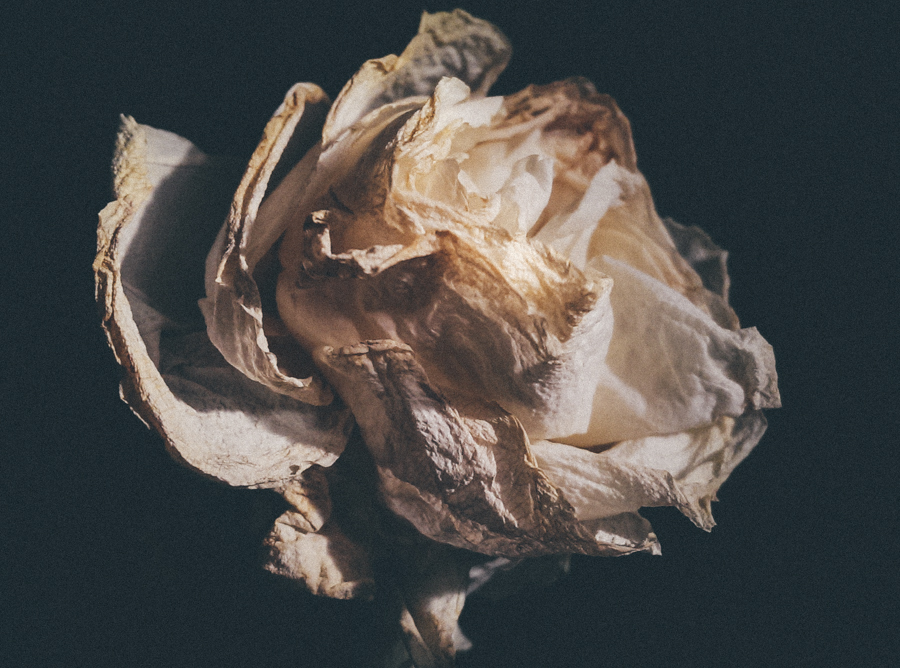
This first image (below) was taken with the lighting setup as above, a bare light bulb to one side of the object. Once you fill the frame with the subject the camera begins to determine exposure. I found mine was overexposing by quite some distance, so I changed the ISO to 100, still too bright. The only other option that the phone has is to change the EV (Exposure Value) you’re able to set it to plus or minus two. I found that minus two didn’t blow out the highlights and provided satisfying results. One thing I will mention that I struggled with was the aspect ratio, the default is set to 16:9 which will take some getting used to, I switched mine to 4:3 for a more familiar crop. I used the black card to block out stray light rays (in photographic studio terms this would be called a flag) and in this case make sure they didn’t hit the wall and affect the background.
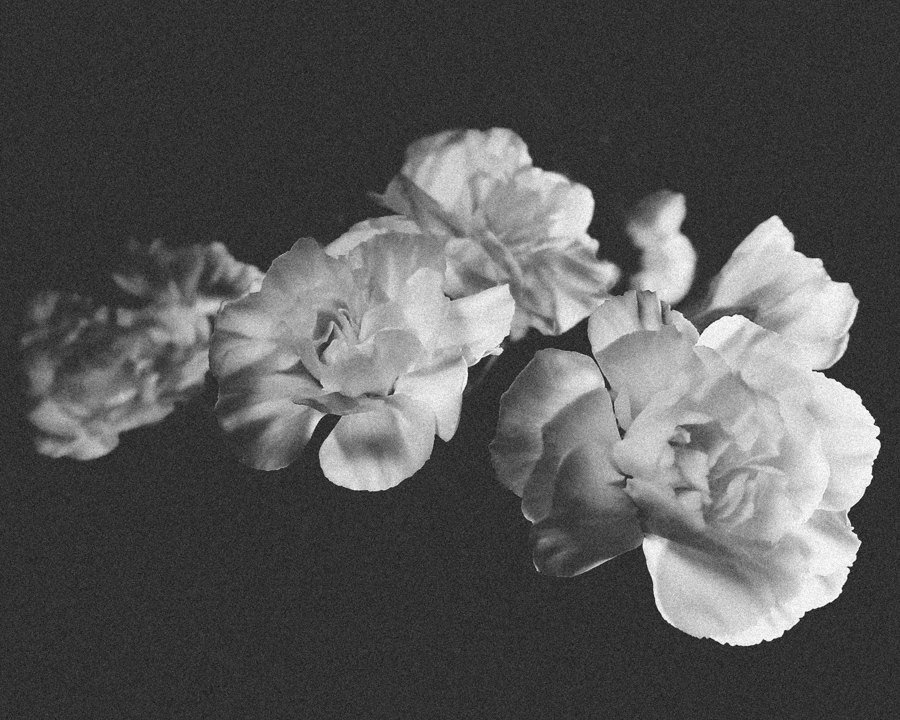
Good, but not great, we can do better.
The purpose here is to push yourself to your creative limits, by limiting the resources to just the objects around you, it forces you to think outside of the box and make something work regardless of circumstances or value of equipment.
Below I’ve rolled an A3 piece of black card into a tube and sellotaped it together to mimic a snoot used on studio lights, this again is to direct the light and maintain control over my shot. The single directional light creates contrast but also stops stray light flying around. They’re called modifiers simply because they modify the light in some way. Some modifiers soften the light (softbox) others the direction or intensity (snoot, beauty dish) it’s all about using the right tool for the job.
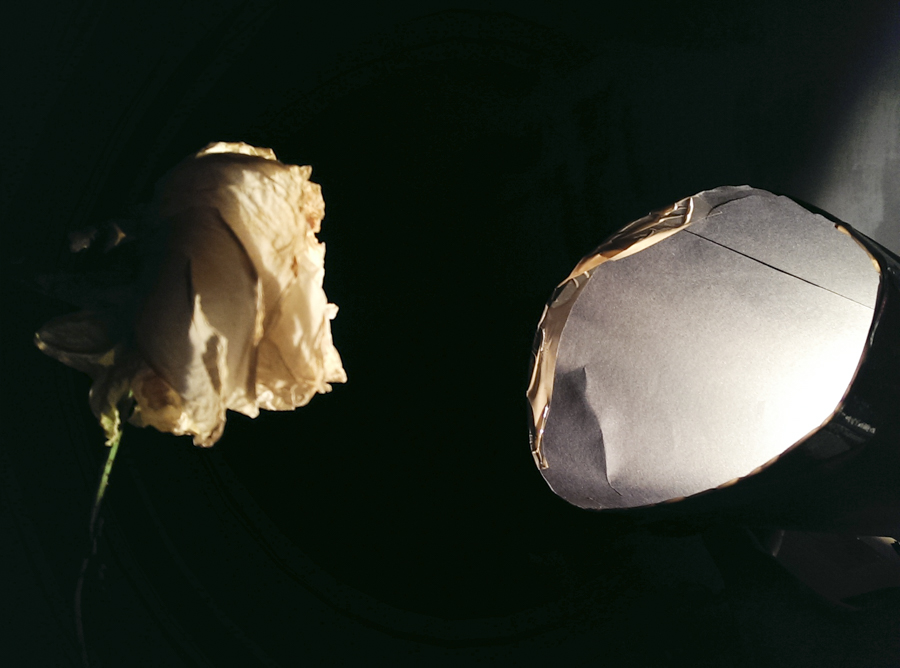
It’s primitive but it gets the job done, be careful that nothing is touching the bare light bulb as it will become incredibly hot.
The first image is straight out of camera (you may have see that written as SOOC) using my homemade snoot. Followed by a colour edit and my black and white edit.
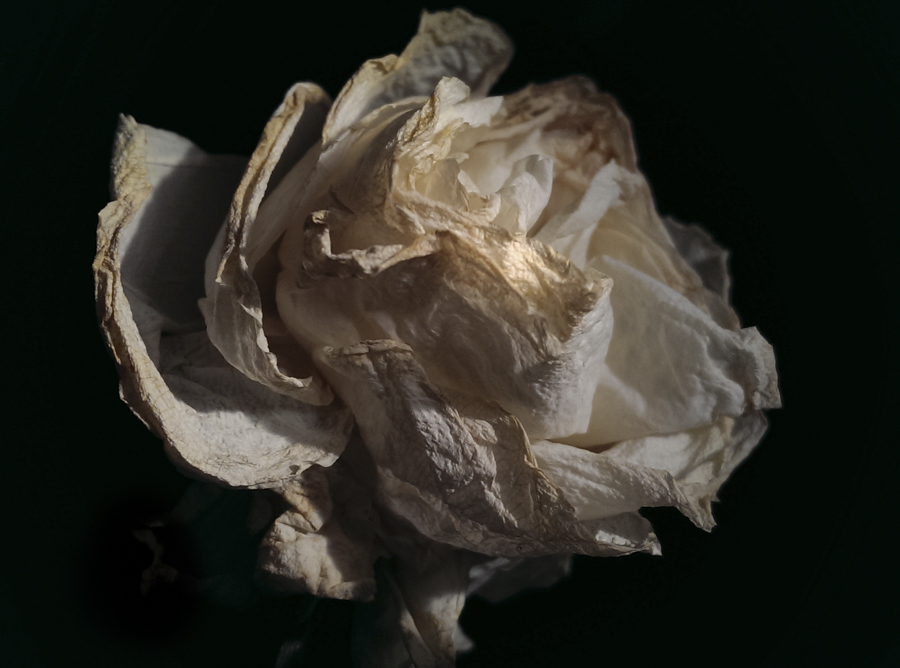

I’m impressed by the level of detail in the petals and would happily take the camera phone experiment to the street to see how it stands up in the real world. However for the purposes of this blog I think it’s fair to say that good quality still life photography is possible with a camera phone. Maybe I overdid it with the grain, but considering this was a first attempt I think its pretty good. Try it for yourself and post links below to any images you’ve taken with your camera phone. Happy shooting!