How to create a photogram
This post explains how to make your own photogram. The technique harks back to the origins of photography, one of the first means of creating an image or recording a copy of a document was to create a photogram – also referred to as Rayographs after Man Ray. It is called a contact print because the object is in contact with the photo paper, it really is that simple. There are affiliate links in this post, check my mission statement to learn more.
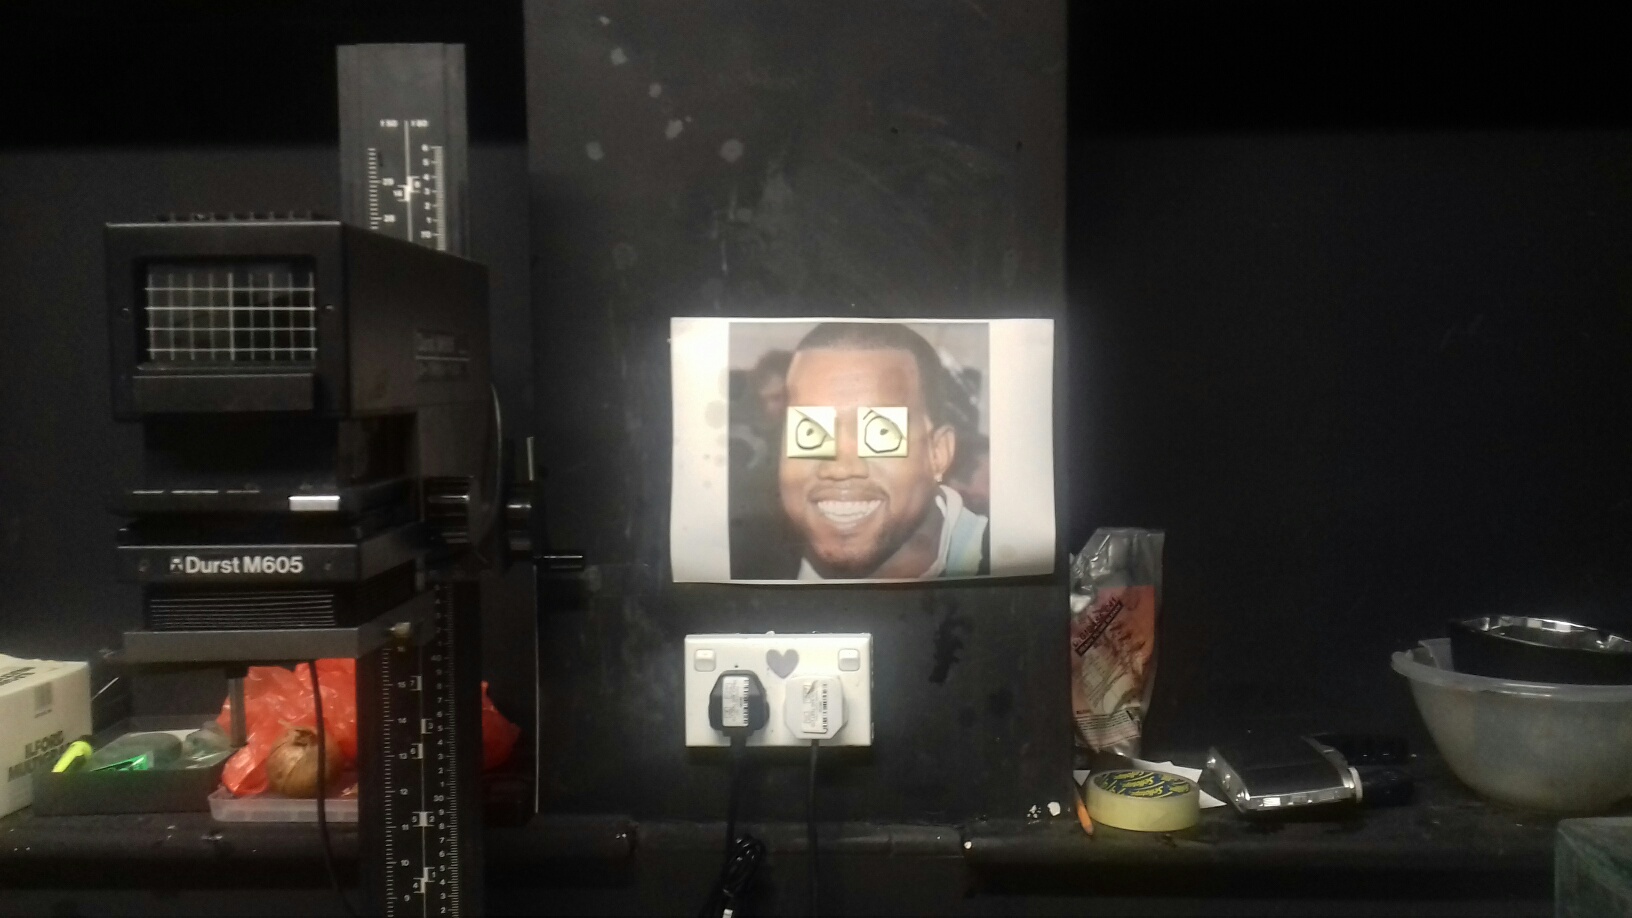
I find it always helps to have a darkroom mascot, someone who is always there to keep you company. Someone you can rely on, who is always smiling and will never let you down…

Photographers that you can research for your A-Level or GCSE photography project are:
Man Ray, Christian Schad, Martha Madigan and Lazslo Moholy Nagy.
The below image is plastic drinks bottles containing a little bit of water.

What you will need
- darkroom
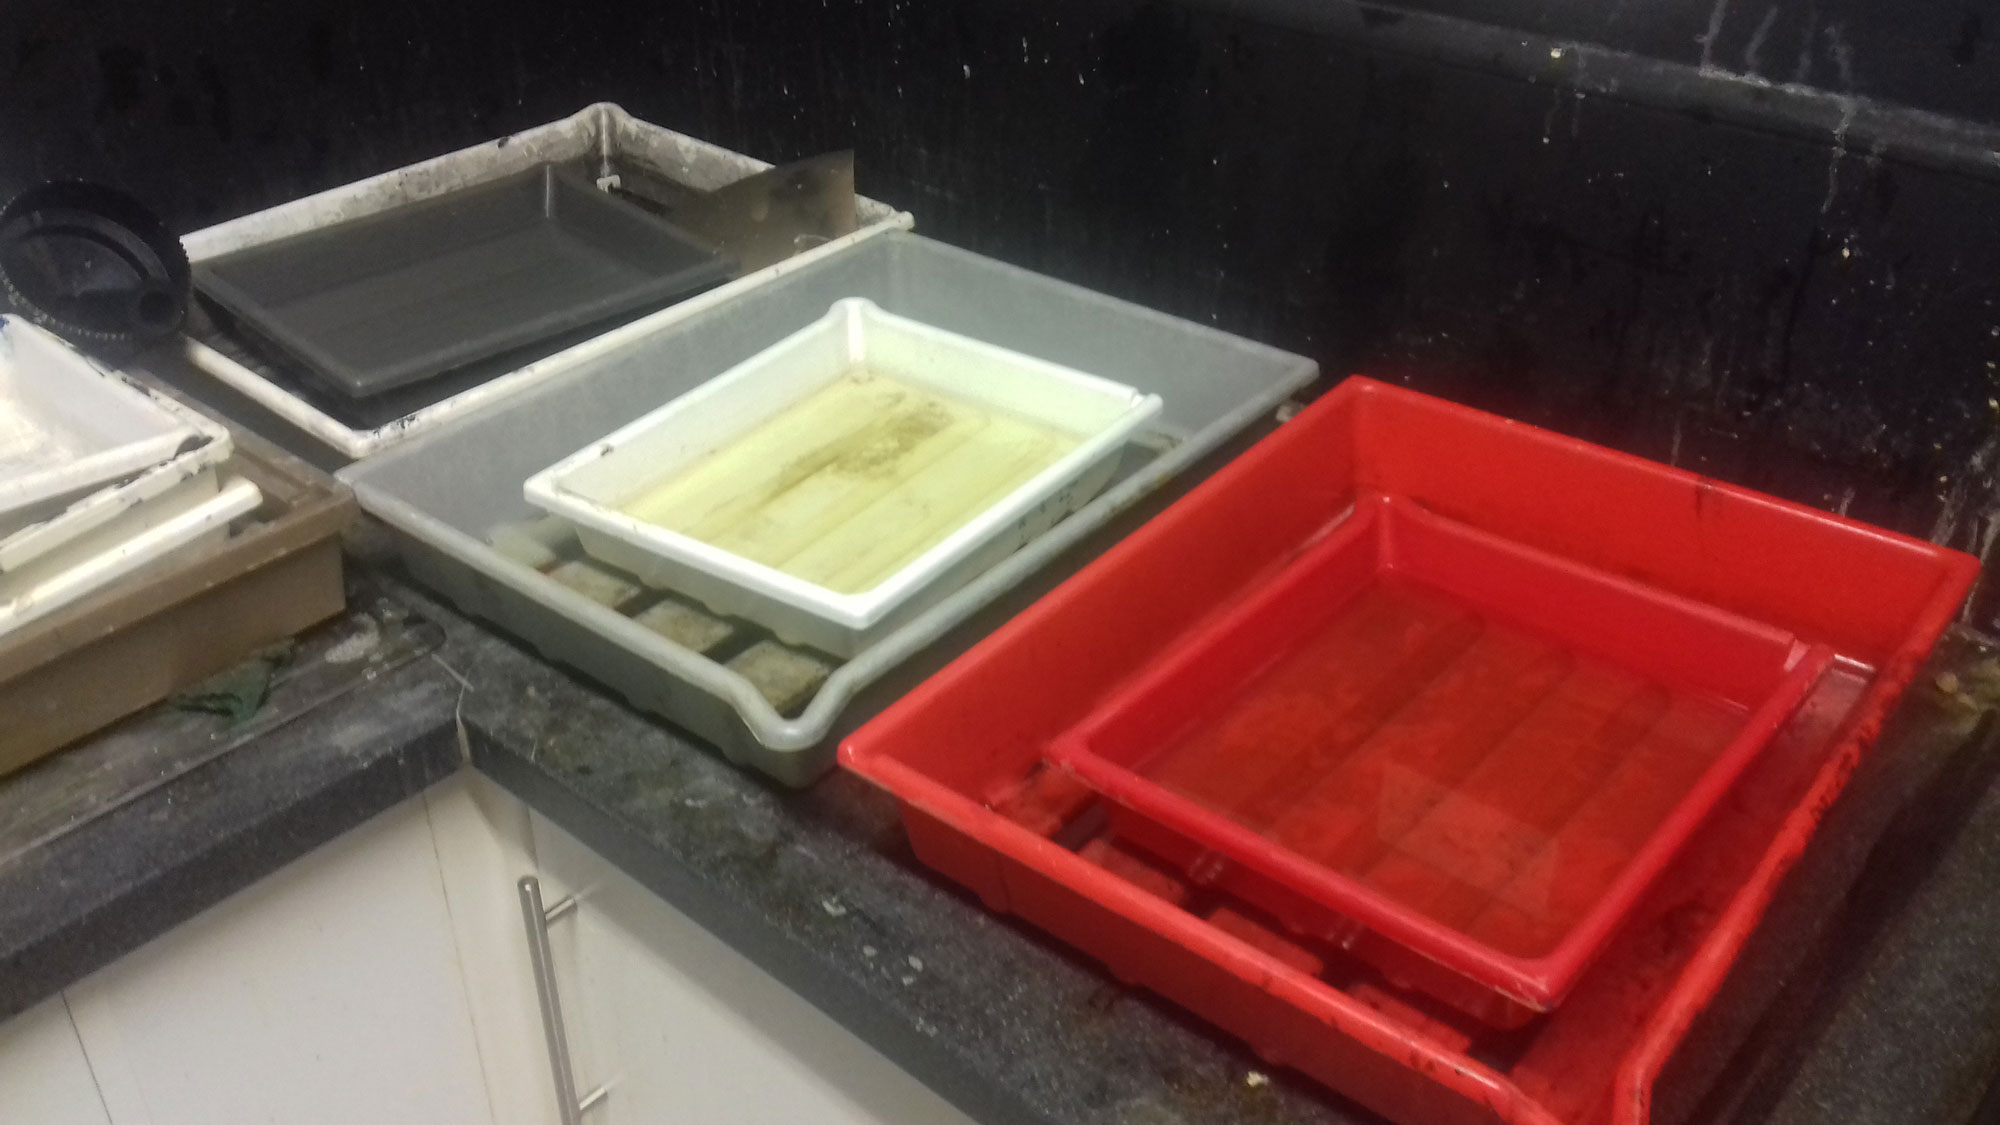
- chemical baths– develop, stop, fixer and water bath – Ilford Chemicals
- photo paper – cheapest on amazon
- enlarger/studio flash head/on camera flash/flashgun/desk lamp
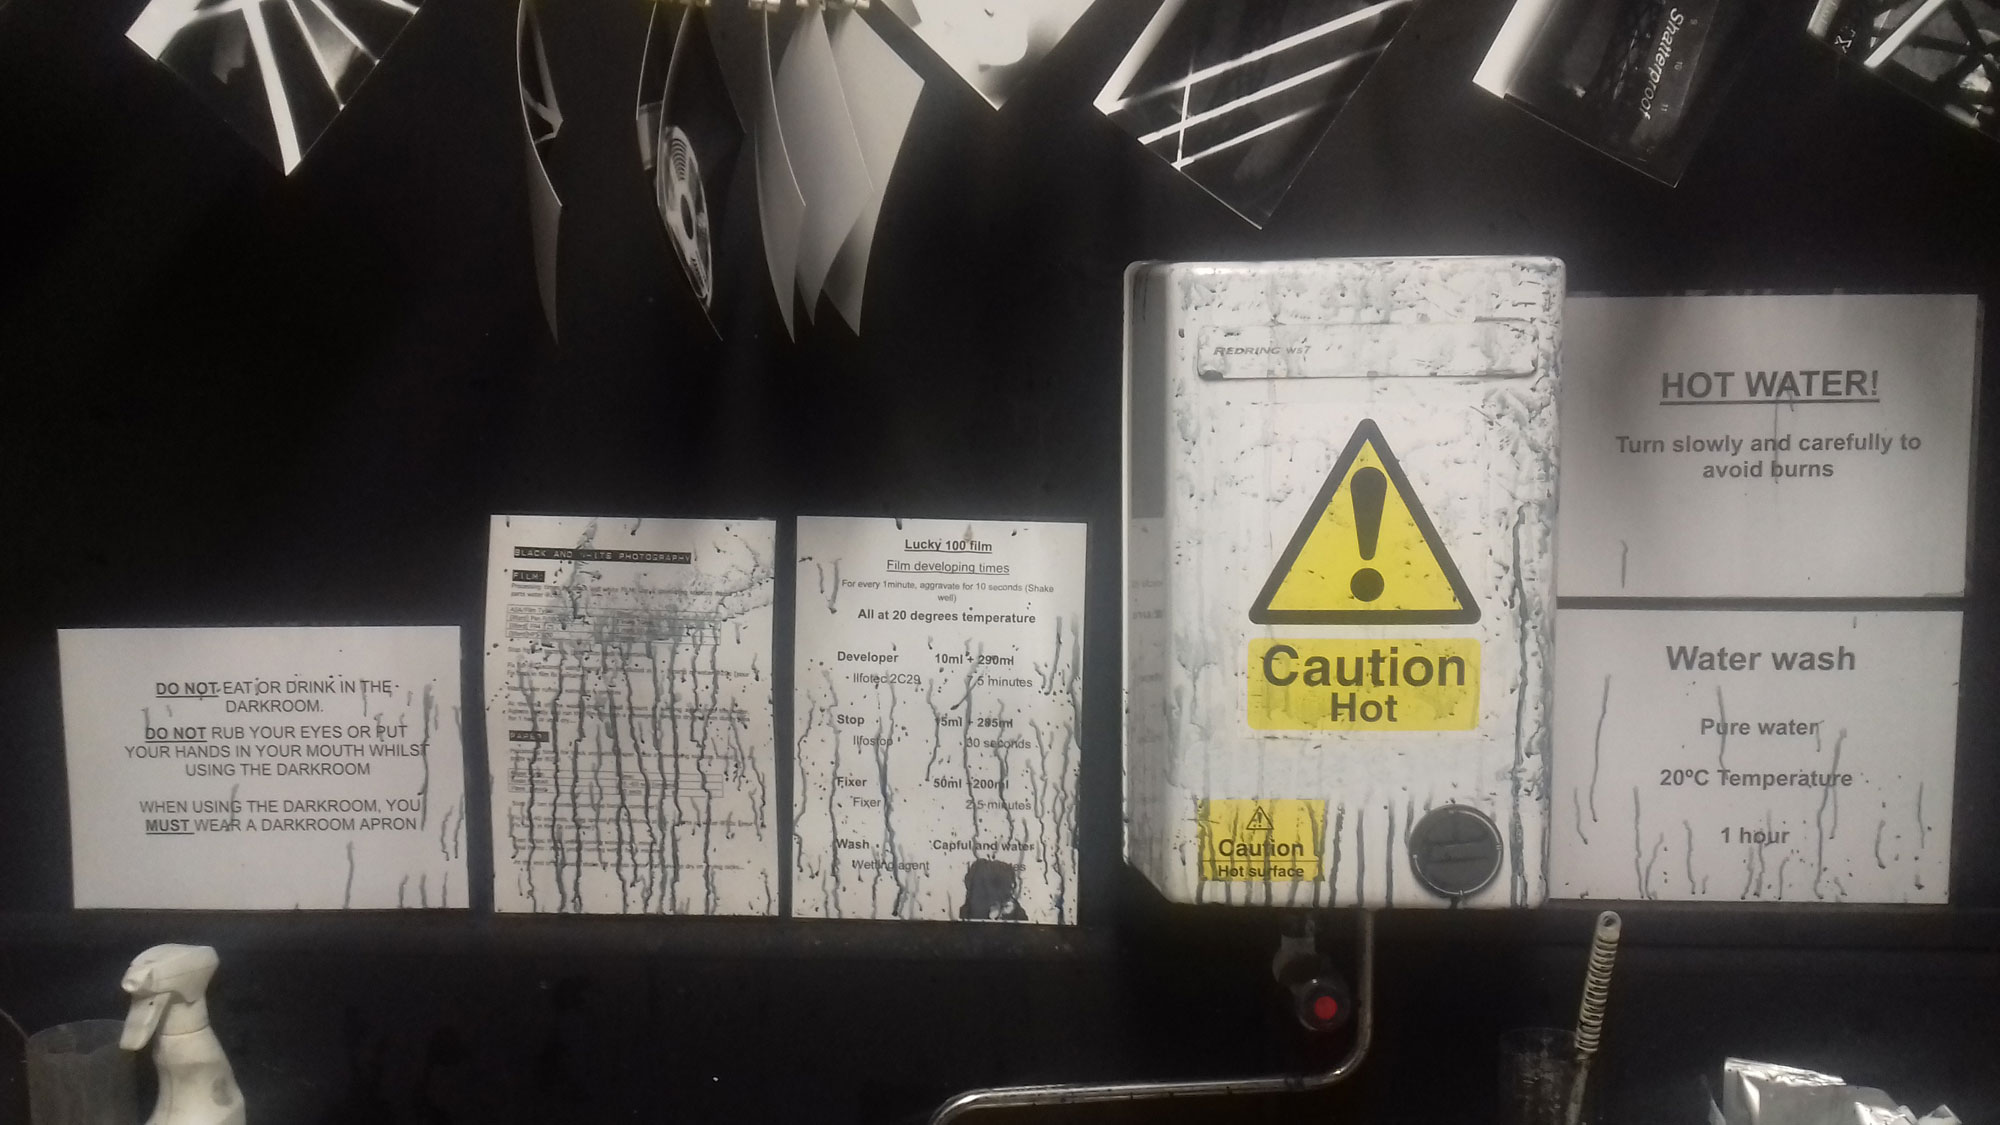
Darkroom chemicals – CHECK

THE DARKROOM IS A BLOODY MESS – but I don’t really care

STEP 1
Lay out your objects on the enlarger or clear surface.
In this example I used cling film. Any transparent or translucent object will work – go nuts, try loads of things.
Keep your surface clear!!! When you turn the lights off it’s so easy to knock things over if you’re not careful.

STEP 2
Turn on the red safety light
STEP 3
Take a piece of photographic paper out of the box and place it on the table
Remember to seal the rest of the paper back up
STEP 4
Place object on top of photographic paper (I used cling film to see what it looked like)
STEP 5
Expose paper to light

Note: your exposure time will vary depending on your light source – patience and practice is key. Make notes of your exposure times if you don’t have an enlarger and expose for less time if the image comes out black and more time if it comes out white.
STEP 6
Place photographic paper face down in the developer for a few minutes
Then place in the stop bath for ten seconds
Place in the Fixer for five minutes
Place in the water bath/sink
STEP 6
Turn on the lights and either examine your masterpiece or adjust exposure time for the next print.
The cling film came out like this, which was pretty cool and has got potential to be developed.

The above is the negative version.
Scan your photograms and invert them on Photoshop (ctrl+I) to see the positive image.
Get creative
This is a photogram of Sugar and a close up showing the detail.
I created this by tilting the enlarger head so the sugar cast a shadow.
Because I touched the edge of the paper it has created a similar result to a chemigram – I’m pretty sure you could layer these ideas to create something brand new


This is sugar, however this time I held a lens in front of the paper in order to bend the light across it It looks easy, (and it is) but takes a long time to master. Different objects will have different levels of transparency and density which will vary the exposure time, so if you’re layering objects the exposure time will vary greatly. This is a great opportunity to score marks for your project as your work will improve quickly and it is easy to reference other photographers work as creating work in their style is often a case of finding similar objects to lay on top of the paper.
Don’t be boring and copy Moholy Nagy and put strips of negative film across it.
Layer ideas
Why not develop a photograph onto the paper and then create a photogram on top of that before developing?
Or mix a photogram and a chemigram?
Use the cling film to create an x-ray effect, or try and make it look like a jellyfish?
The Process recap
Make sure you have laid out all of the items you intend to make a print of in easy to reach locations. Turn on the red lights, make sure the safety filter is deployed on the enlarger and turn on the enlarger preview lights. Raise or lower the enlarger to match the size of photographic paper you’re using, place the paper on the enlarger making sure that the light covers all of the paper. Arrange your objects on top of the page, taking care over your composition. Remember what ever is touching the paper will be sharper than those that are hovering slightly above it. Again exposure time may take some tweaking, fresh developer should give you an exposure time of one to two seconds. When the print is in the developer, if it looks like its turning black, don’t take it out for fear of losing your print and make sure you leave it for at least two minutes. If you take it out two early you’ll never know what correct exposure should be for your prints, if its completely black, you’ve overexposed it, sure you lost that image but going forward you’ll have a much better idea for all future prints. Also if you take your print out too early just to save it, it will probably be streaky anyway, so let it do its thing and learn from the outcome.
