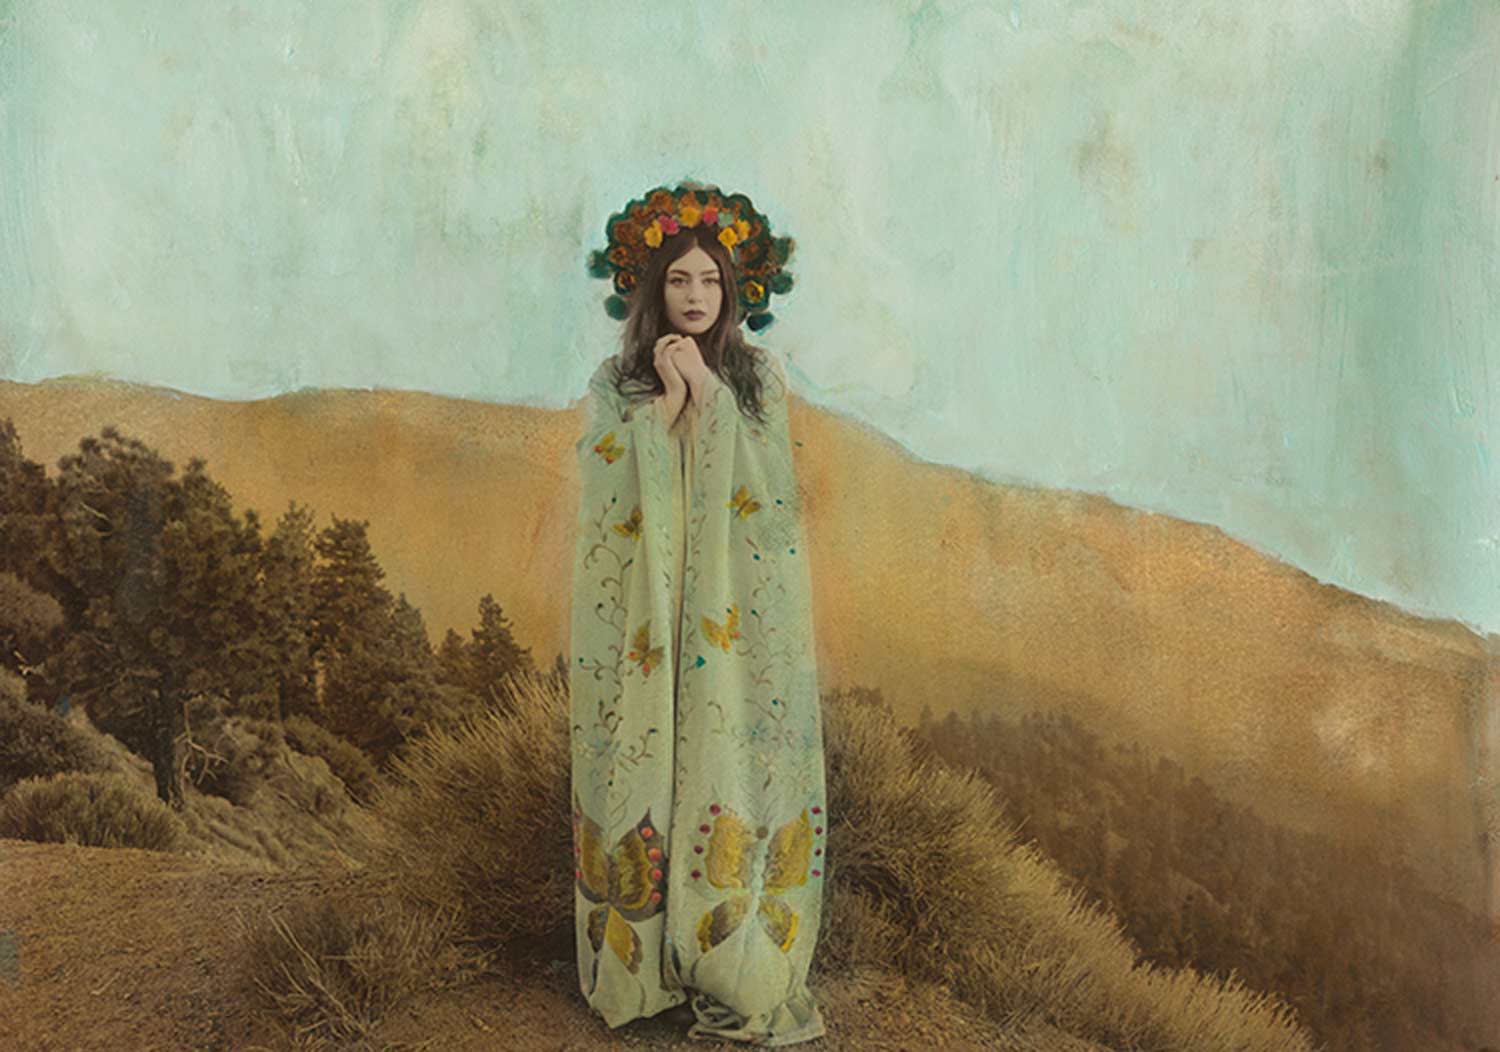
Hand-coloring photographs is a fun and organic process that allows you to re-interpret your images again and again. Go out and take new pictures to work with or simply use some from your archive or royalty free images online. The possibilities are endless. I thoroughly encourage anyone to try this method as it allows a new type of creative freedom and pulls you away from the screen. I don’t know about you, but I tend to look like a prawn after a day of Photoshopping. This is a wonderful way to engage students with tactile processes and because it’s not dependent on computers or devices, means it’s a great way to engage students of all ages without being limited by resources.
Hand coloring can be done with a wide variety of materials; oil paints, watercolors, inks, acrylic paint, gel pens, metallic pens, crayons etc. You could even crush up petals of flowers and make your own dyes if you have the time, this is one of those projects that really is only limited by the imagination. It also lends itself wonderfully to being cross compatible with other alternative processes too. You could potentially print a positive photograph onto photo paper in the dark room and then scrape away the outline of an object with a knife, and introduce a dye into the now exposed paper. Or why not take a portrait and then use a fine liner to turn it into a graphic illustration by exaggerating lines and motion. Go crazy!
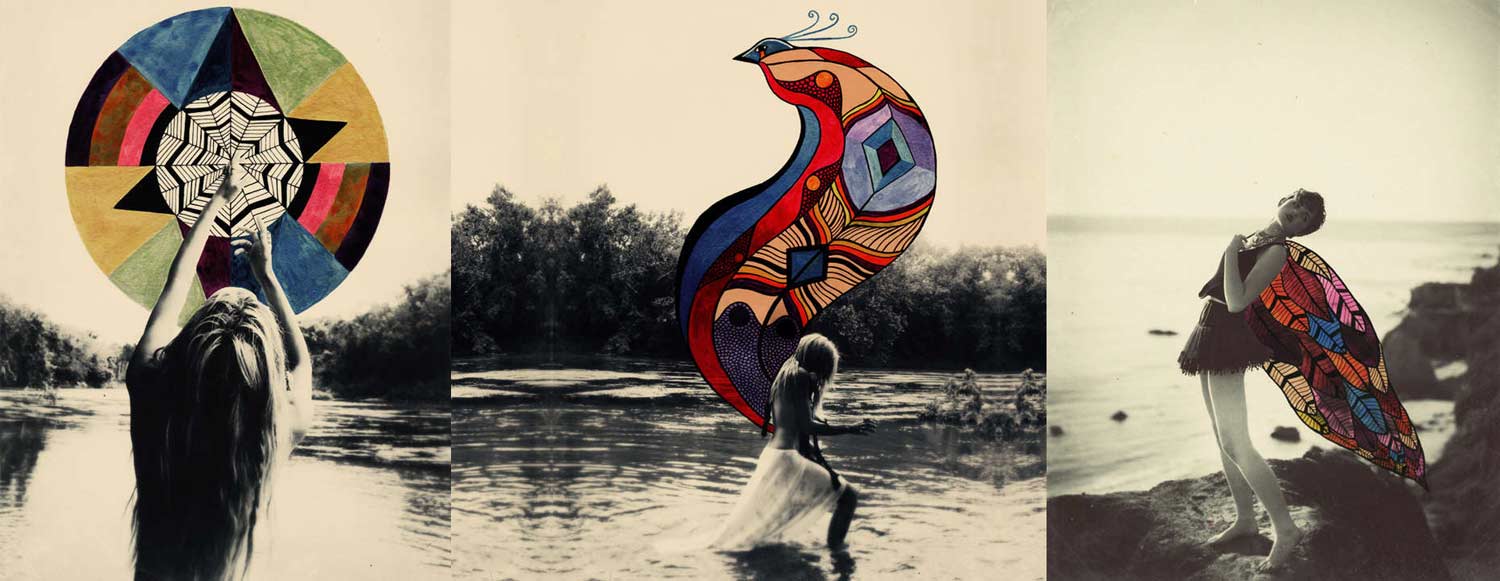
One of the easiest ways to get started with hand coloring photographs is to print any black and white image onto watercolor paper using an inkjet printer. Then all you have to do is start painting with watercolors, safe in the knowledge the paper will behave itself and not disintegrate and fall to pieces when you add water.
What types of paper are best for hand coloring?
Watercolor paper
Canvas
Matte photo paper
These three are your best options as glossy photo paper doesn’t hold paint very well and watercolor paper is designed to get wet, so you have many more blending and painting options. It is an experimental process so buy a few different stocks of paper and run tests on each one to see which is best for you and how you want to work
What you need for handcoloring
Paper
- Inkjet matte photo paper – This stuff is fine for your first go
- heavyweight watercolor paper – Watercolour paper is expensive, so start with something like this
- darkroom paper – Ilford darkroom paper
Paint
- watercolors
- coloured inks
- acrylic
- oil paints
- crayons
- colour pencils
- gel pens
- permanent markers
Brushes
Spray fixative – make sure it’s mixed media friendly
Watercolor painting a photograph
1) Adjust your printer settings to ‘heavy matter paper’ or whatever the equivalent setting is.
2) Select your photography – convert it to black and white and make sure it has plenty of contrast. Alternatively print in colour and play with that instead
3) Cover your work area with newspaper, it can get very messy
4) Start experimenting!
5) leave to dry
6) Spray with fixative in a well ventilated area
Experimenting
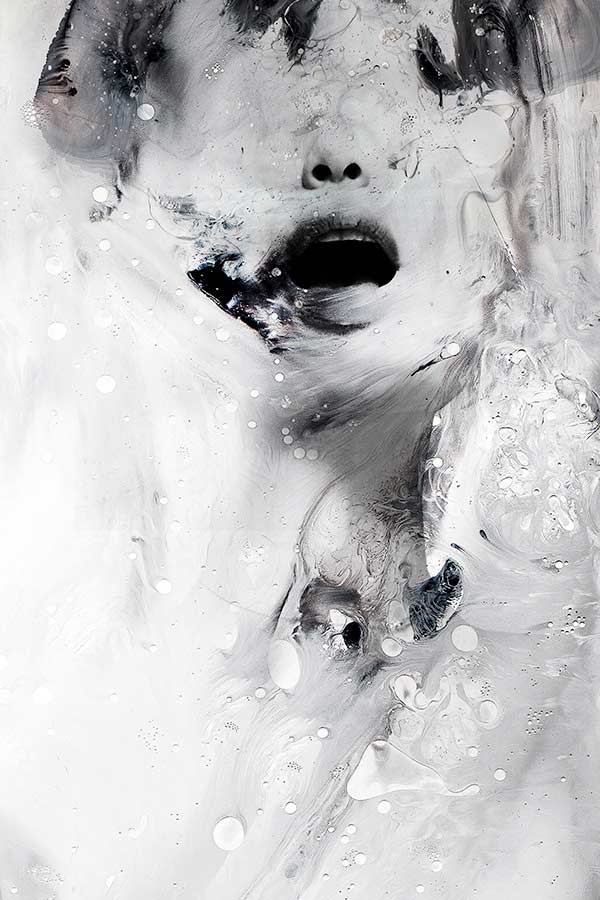
In this piece, the artist has truly embraced the idea of experimenting with hand altering their photographs. A technique that is highly experimental, it appears the image has been brushed and splashed with different resists during the developing process. If i were to hazard a guess at how theyve done it (or at least, how you could recreate it), I would say they’ve taken a portrait on a digital camera, printed it onto the wrong side of a piece of acetate (so it doesn’t dry) and then played with brushing the image by hand, before then developing the image onto photopaper in the darkroom. Just a guess, but I bet that would work.
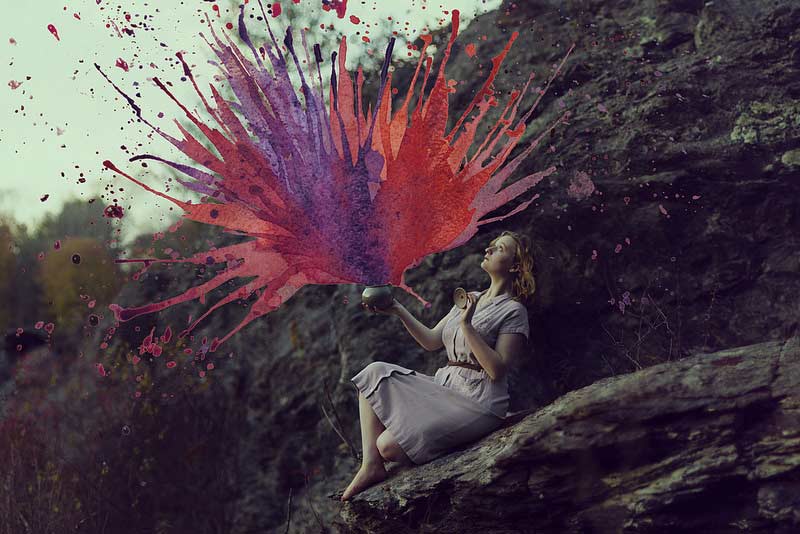
In this image, Aliza has put careful consideration into the final picture she wanted to achieve before starting the process. She has deliberately stage a portrait to include an open vessel with the intentio of hand finishing the imege with paint. After printing onto photopaper she has simply painted with acrylic over the top of the printed photograph to achieve the ‘splash’.
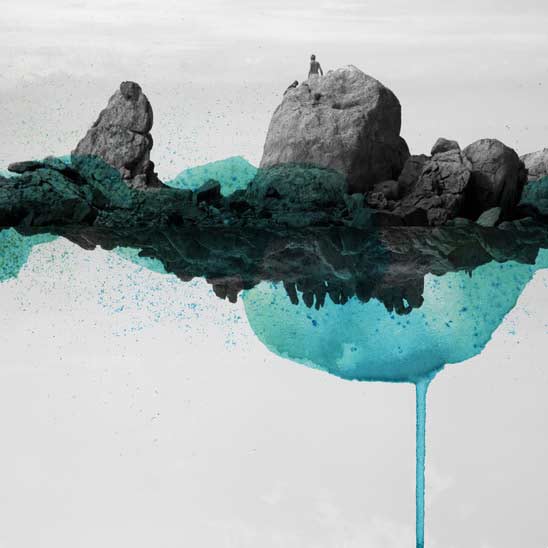
In this image Labokoff transports us to another world. Carefully and delberately manipulating his image in Photoshop first to create a symmetrical and distorted landscape, he has then printed the image onto watercolour paper and then hand painted the image with this striking blue.
As you can see from these examples, hand coloring photographs can be a tremendously rewarding experience and is open to all age groups. It’s a great way to breath new life into old images or to engage young creatives who need help getting away from screens! I thoroughly recommend you try this as once you get started, the imagination runs riot, and it’s hard to stop.
