How to create a wetplate photograph – beginners guide to tintypes.
I’ve wanted to have a crack at wet plate photography since I was about 16, there is something that is captured behind the eyes of a tintype portrait that reveals something about a person no other image can. Don’t be put off by the amount of time this takes, it isn’t difficult, it just takes time and patience. This is the first time that I’d ever attempted to create a wet plate photograph so I’ll document failings as well as successes.
You will need:
Preferably a 5×4 camera, it can be done with 35mm, but the larger plates are easier to work with.
Laser engraving plate – The type of metal that is used on trophies. Before ordering make sure you have measured your film cartridge properly, I didn’t and went ahead and ordered 150 sheets of 4×5, only to find out they were about 2mm too wide for my film cartridge, hence the necessary hack job coming up. Ordered from Engravamet, I called and ordered over the phone, the lady I spoke to was delightful.
Collodion, Silver Nitrate, Wet plate developer, wet plate fixer, varnish – I bought the lot as a kit from wetplatesupplies here
Silver nitrate bath – also available from wetplatesupplies.
Apron
Rubber gloves – Silver nitrate stains your hands black and takes about a week to come out.
(if shooting indoors) Studio lights – This process requires a lot of light.
Developing and Fixing trays
If you’re smarter than I and have properly measured your film holder then you can ignore the next parts. I drilled four holes into the corners of the dividing piece of plastic in the middle of the film cartridge and used a jigsaw to cut it out. This allows the tin plate to fit in snugly and remain light tight. What is important to note is that in doing this you’re moving the focal plane approximately a few millimetres farther back than it would be if shooting with film. If taking portraits, this means that you will need to compensate when focusing the image, moving the focus ever so slightly beyond the point of exact focus to achieve a pin sharp result.
 Next you’ll need to prep your working area. Silver nitrate will stain everything, and I mean everything. Make sure your area is clear and if you need to, put down newspaper over your workbench just in case you spill it. Put your gloves and apron on and fill the silver nitrate bath with the silver nitrate and dilute the fixer crystals in water to create your fix bath.
Next we need to pour the collodion onto the engraving plate. This takes practice to get the flow over the plate even, thankfully you can do this step with the lights on. The engraving plate will probably have a piece of plastic film on it, so be sure to remove that first.
Start by pouring a good amount onto the plate and tilt the plate so the liquid flows to the corners. It’s a viscous solution so it wont drop off the edges, the surface tension of the solution keeps it on the plate.
Any excess can be run straight back into the bottle. Place your plate into the silver nitrate bath and leave for about five minutes.
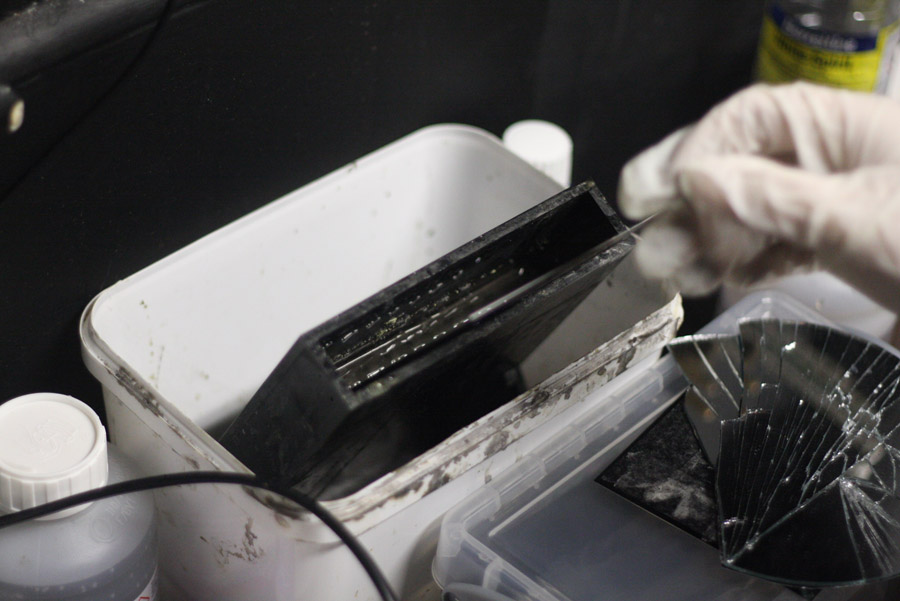 After five minutes take the plate out of the silver bath and load into the film cartridge. It should be noted that the plate will now be light sensitive so be sure to load it into the cartridge under red lights, the following steps are donw with a blank plate for illustration purposes only. Even under a red light you should be able to see the changes in the plate, it will have changed from a black to a creamy colour. You’re now ready to shoot.
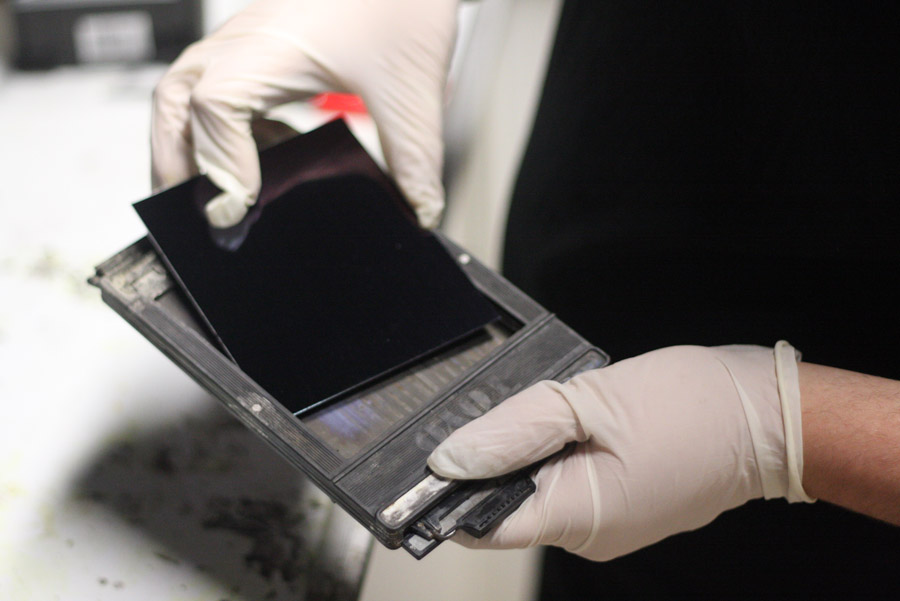
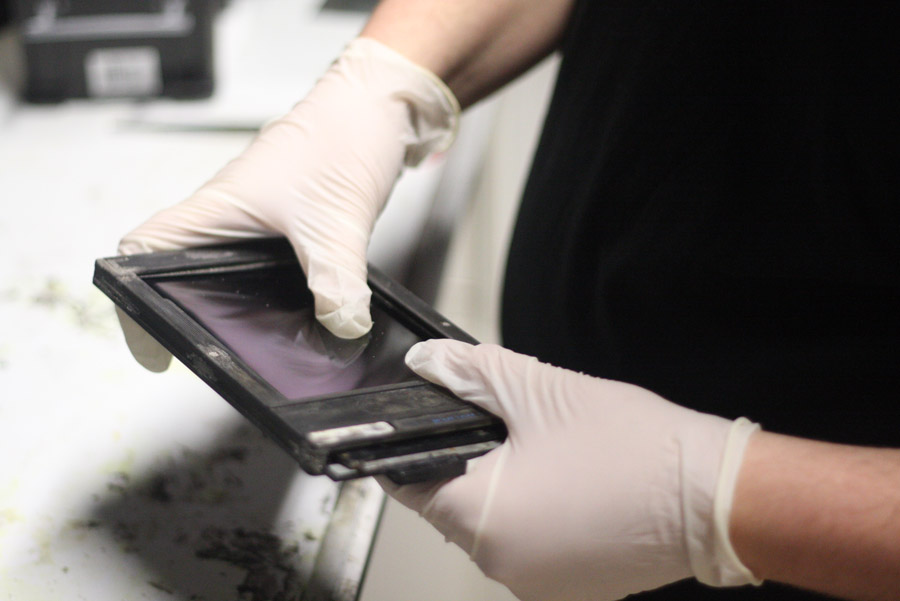 Tintype has an ISO equivalent of 1, thats not a typo, ISO 1/one/uno. So we need a lot of light. I have used two Bowens 400rx heads on full power, these were then placed about three feet away from the subject. The camera was set to 1/60sec at f/5.6. If you’re shooting landscapes you’ll need a lightmeter as well as a device to convert the exposure readings. My light meter will only stop down to ISO 6, so you’ll need to get the books out or use a phone app. Once the exposure has been made its recommended you pour the developer over the plate under red safety lights, tray development is fine. Once you’re happy the developing has finished you’re fine to turn the lights on and transfer to the fixing tray. At this stage the plate will appear a blueish hue, keep the fixer moving over the plate and eventually it will reveal the image.
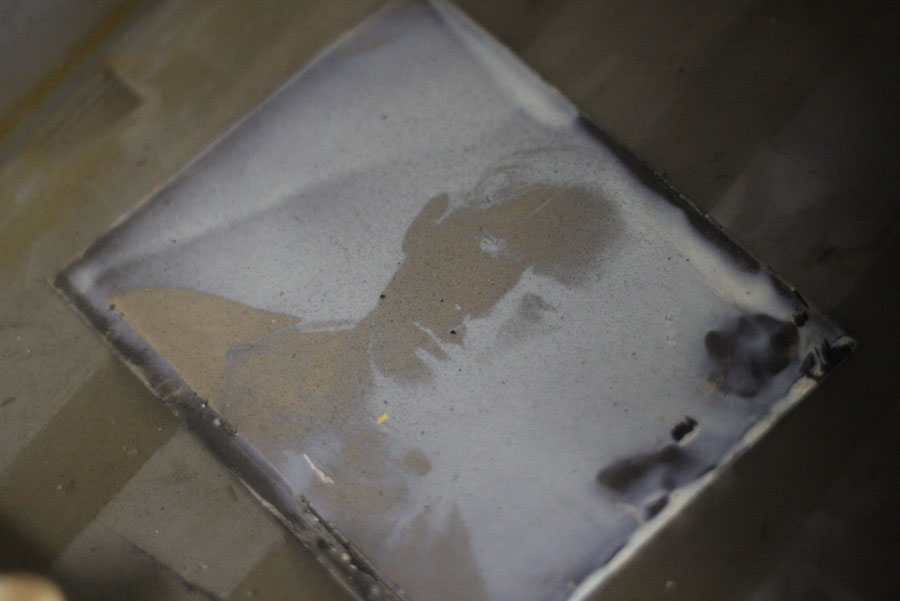

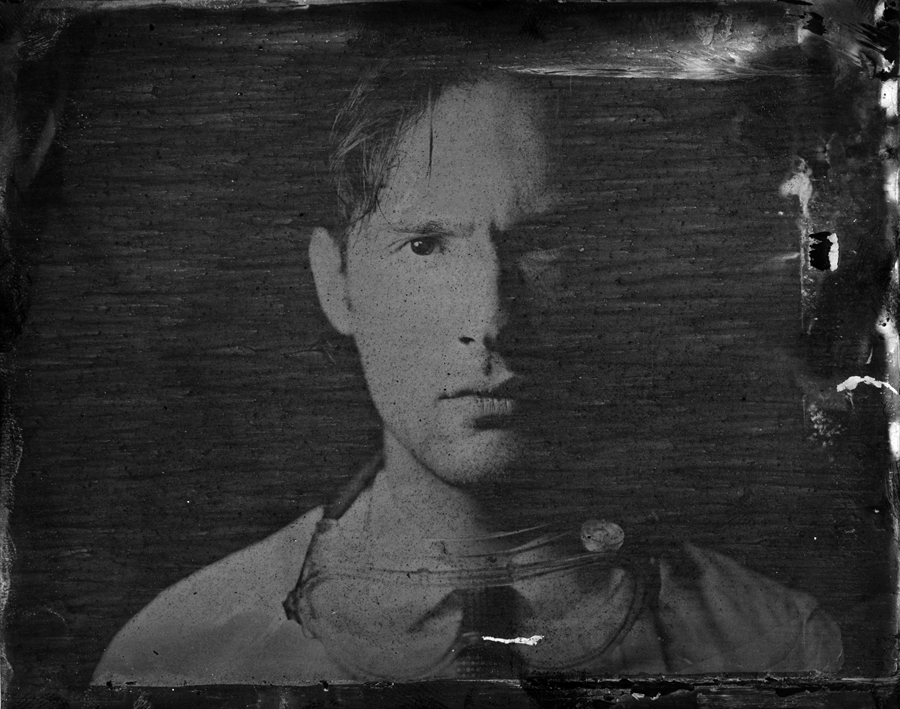
 Scanned at 300dpi, cropped to 900px on long edge, contrast and desaturated.
 Not bad for a first attempt. the streaks as far as im aware are a sign of underdevelopment considering the loss of highlight detail on the left side of the face I’d say that this was slightly overexposed. To improve the overall exposure we moved the lights back slightly to around three feet away from the subject and repeated the process.
further reading:
http://www.victoriawill.com/#/tintype-i/
http://www.alternativephotography.com/wp/processes/liquid-emulsion/the-modern-tintype-process