Chemigram ideas and how to make them
I have seen this attempted by many, but mastered by a select few.
One of these is Pierre Cordier
“With the advent of photography in 1839, painting underwent a radical transformation. Nowadays, the digital process is revolutionising photography. The Chemigram, fusion of painting and photography, is most likely the ultimate adventure of gelatin silver bromide.” Pierre Cordier
This is a beautiful sentiment, and one I happen to agree with. Chemigrams are an adventure and one which students should embark upon to develop their understanding of darkroom materials and practices, but most importantly, to re engage with their childish sense of play, creativity and imagination. The single biggest problem I encounter as a Photography Tutor at A-Level, is that students arrive from the GCSE model of learning, read the text book, know the fact, write it on the exam paper, get the grade. This is no way to teach, and no way to learn. I believe the most important thing a teacher can teach, is how to learn. Anyone can learn facts, and as science shines light on the dark areas of our knowledge, ‘facts’ are forever evolving, so what’s the use in that. Taking a piece of information, processing it from multiple angles, developing knowledge which then turns into insight, that should be the academic model. In a generation we would transform our culture.
This need to be taught how to learn was put into perspective when I recently conversed with a colleague regarding my own education. When I arrived at University, I genuinely had no idea what I was supposed to do. Assignments were not set in a way I expected, periods between deadlines were vast. What to do with all my time? I was used to an A-Level model, no one gave me the tools to learn how to be a good student. The response from the colleague was a haughty ‘hmph, study!?’. How do you ‘study’?. It’s easy when you know how. How many students have you asked to conduct research and they submit absolute garbage? Is it because they are foolish, or because no one taught them what the point of research is, and how to do it so you end up with meaningful answers? To expect children, students or adults to know anything is the undoing of the teacher. To fully understand something, you first need the tools which will enable you to critique, analyse and question in order to develop a meaningful understanding. Check out my article on what is good research.
I was inspired to write this piece after seeing Radiohead’s album titled a moon shaped pool. The album cover could be any means of creation, I have no idea. It did however, remind me of chemigrams:

This is often the point at which students first encounter darkroom processes and are introduced to the magic of alternative processes. I however, have never made them before, documenting my findings seemed logical and hopefully you will derive some use from this post. Alternative photography is often left behind by students of photography, being seen as a means of creating ‘basic’ images. I am of the opinion that it is the most untapped form of image making, it’s potential nowhere near being realised.
On paper the Chemigram seems to be one of the easiest forms of alternative print making, the reality however, is very different. Throwing chemicals on a page does not a good image make. From oil paints to paper bag sculpture, the rules still apply. Regardless of materials used, composition, balance, rhythm etc. all need to be considered when making anything in a visual medium. Your intent might be to disrupt, distort and altogether break or abandon these rules, however that of course must be established in the development of the concept of your work. One can’t deliberately subvert rules if they aren’t aware they exist. The vast majority of Chemigrams end up taking the form of abstract expressionism, however, like most alternative photography techniques, I think with some dedication, you could make something ridiculously cool.
What is a Chemigram?
A Chemigram is a means of creating an image on light sensitive paper, without the need of a camera.
In real terms: take photographic paper, put stuff on it, see what happens.
Photographic paper is sensitive to light, exposing the paper to light and then placing in chemical developer causes a chemical reaction to occur in which the exposed areas become darker. Placing the paper in stop and then fix causes different reactions to occur which strip the light sensitive salts from the paper and then the paper is no longer sensitive to light. Our intention with Chemigrams is to play with these chemical reactions. Different liquids and materials act as a resist to the developing process and will affect how quickly the chemicals react to the paper.
Placing different materials or liquids on the photo-paper and then experimenting with the order in which we place the paper in the three processing trays is the intention. Play, analyse, gain knowledge, improve. There is no right or wrong, play with as many different ideas possible combinations as you can and inspect the results. Because it is relatively quick to produce a Chemigram, then the turnover of work will likely be quite high, remember to take a pen in the darkroom so you can write down the order of events so you don’t create something really cool and then completely forget how you did it. There are affiliate links in this article, if you click on an item and make a purchase, I use those funds to run this website and help save old growth forests in the UK, I hope this is ok with you.
What will you need?
Four developer trays:
Developer – Ilford Developer
Stop – Ilford Stop
Fix – Ilford Fix
Water
TOP TIP – make up small batches of your chemicals as they will get trashed and be unusable for anything else once you’ve finished
Assortment of vessels to hold resists such as oil, varnish etc.
Photographic paper – This is the best value paper I can find on Amazon
Resists – Oil, Nail Varnish, Honey, Egg, Glue, Pen, Sellotape – anything you can think of.
Pencil and paper for note making.
What causes variation in the final image?
- Paper type and brand
- Paper age
- Type of resist
- Method of applying the resist – paint brush, spray, sponge etc.
- Method of applying the chemicals – paint brush, spray, sponge etc.
- Order in which paper is placed in chemicals
- Length of time in each bath
How to make a Chemigram?
Under red lights, take a few pieces of darkroom paper. Close up the box – the rest of the process takes place with the lights on.
Choose a resist
Apply resist to photographic paper
Put photographic paper into chemicals in any order
Observe and record results.
These instructions might seem a bit crap. Ultimately, it’s because there is so much room for experimentation that attempting to write down the process in detail throttles the creative process. You can’t go wrong with this. It is the most user friendly version of alternative print making.
To add some detail however, here are some detailed processes and findings:
(All chemigrams below we used ADOX black and white paper)
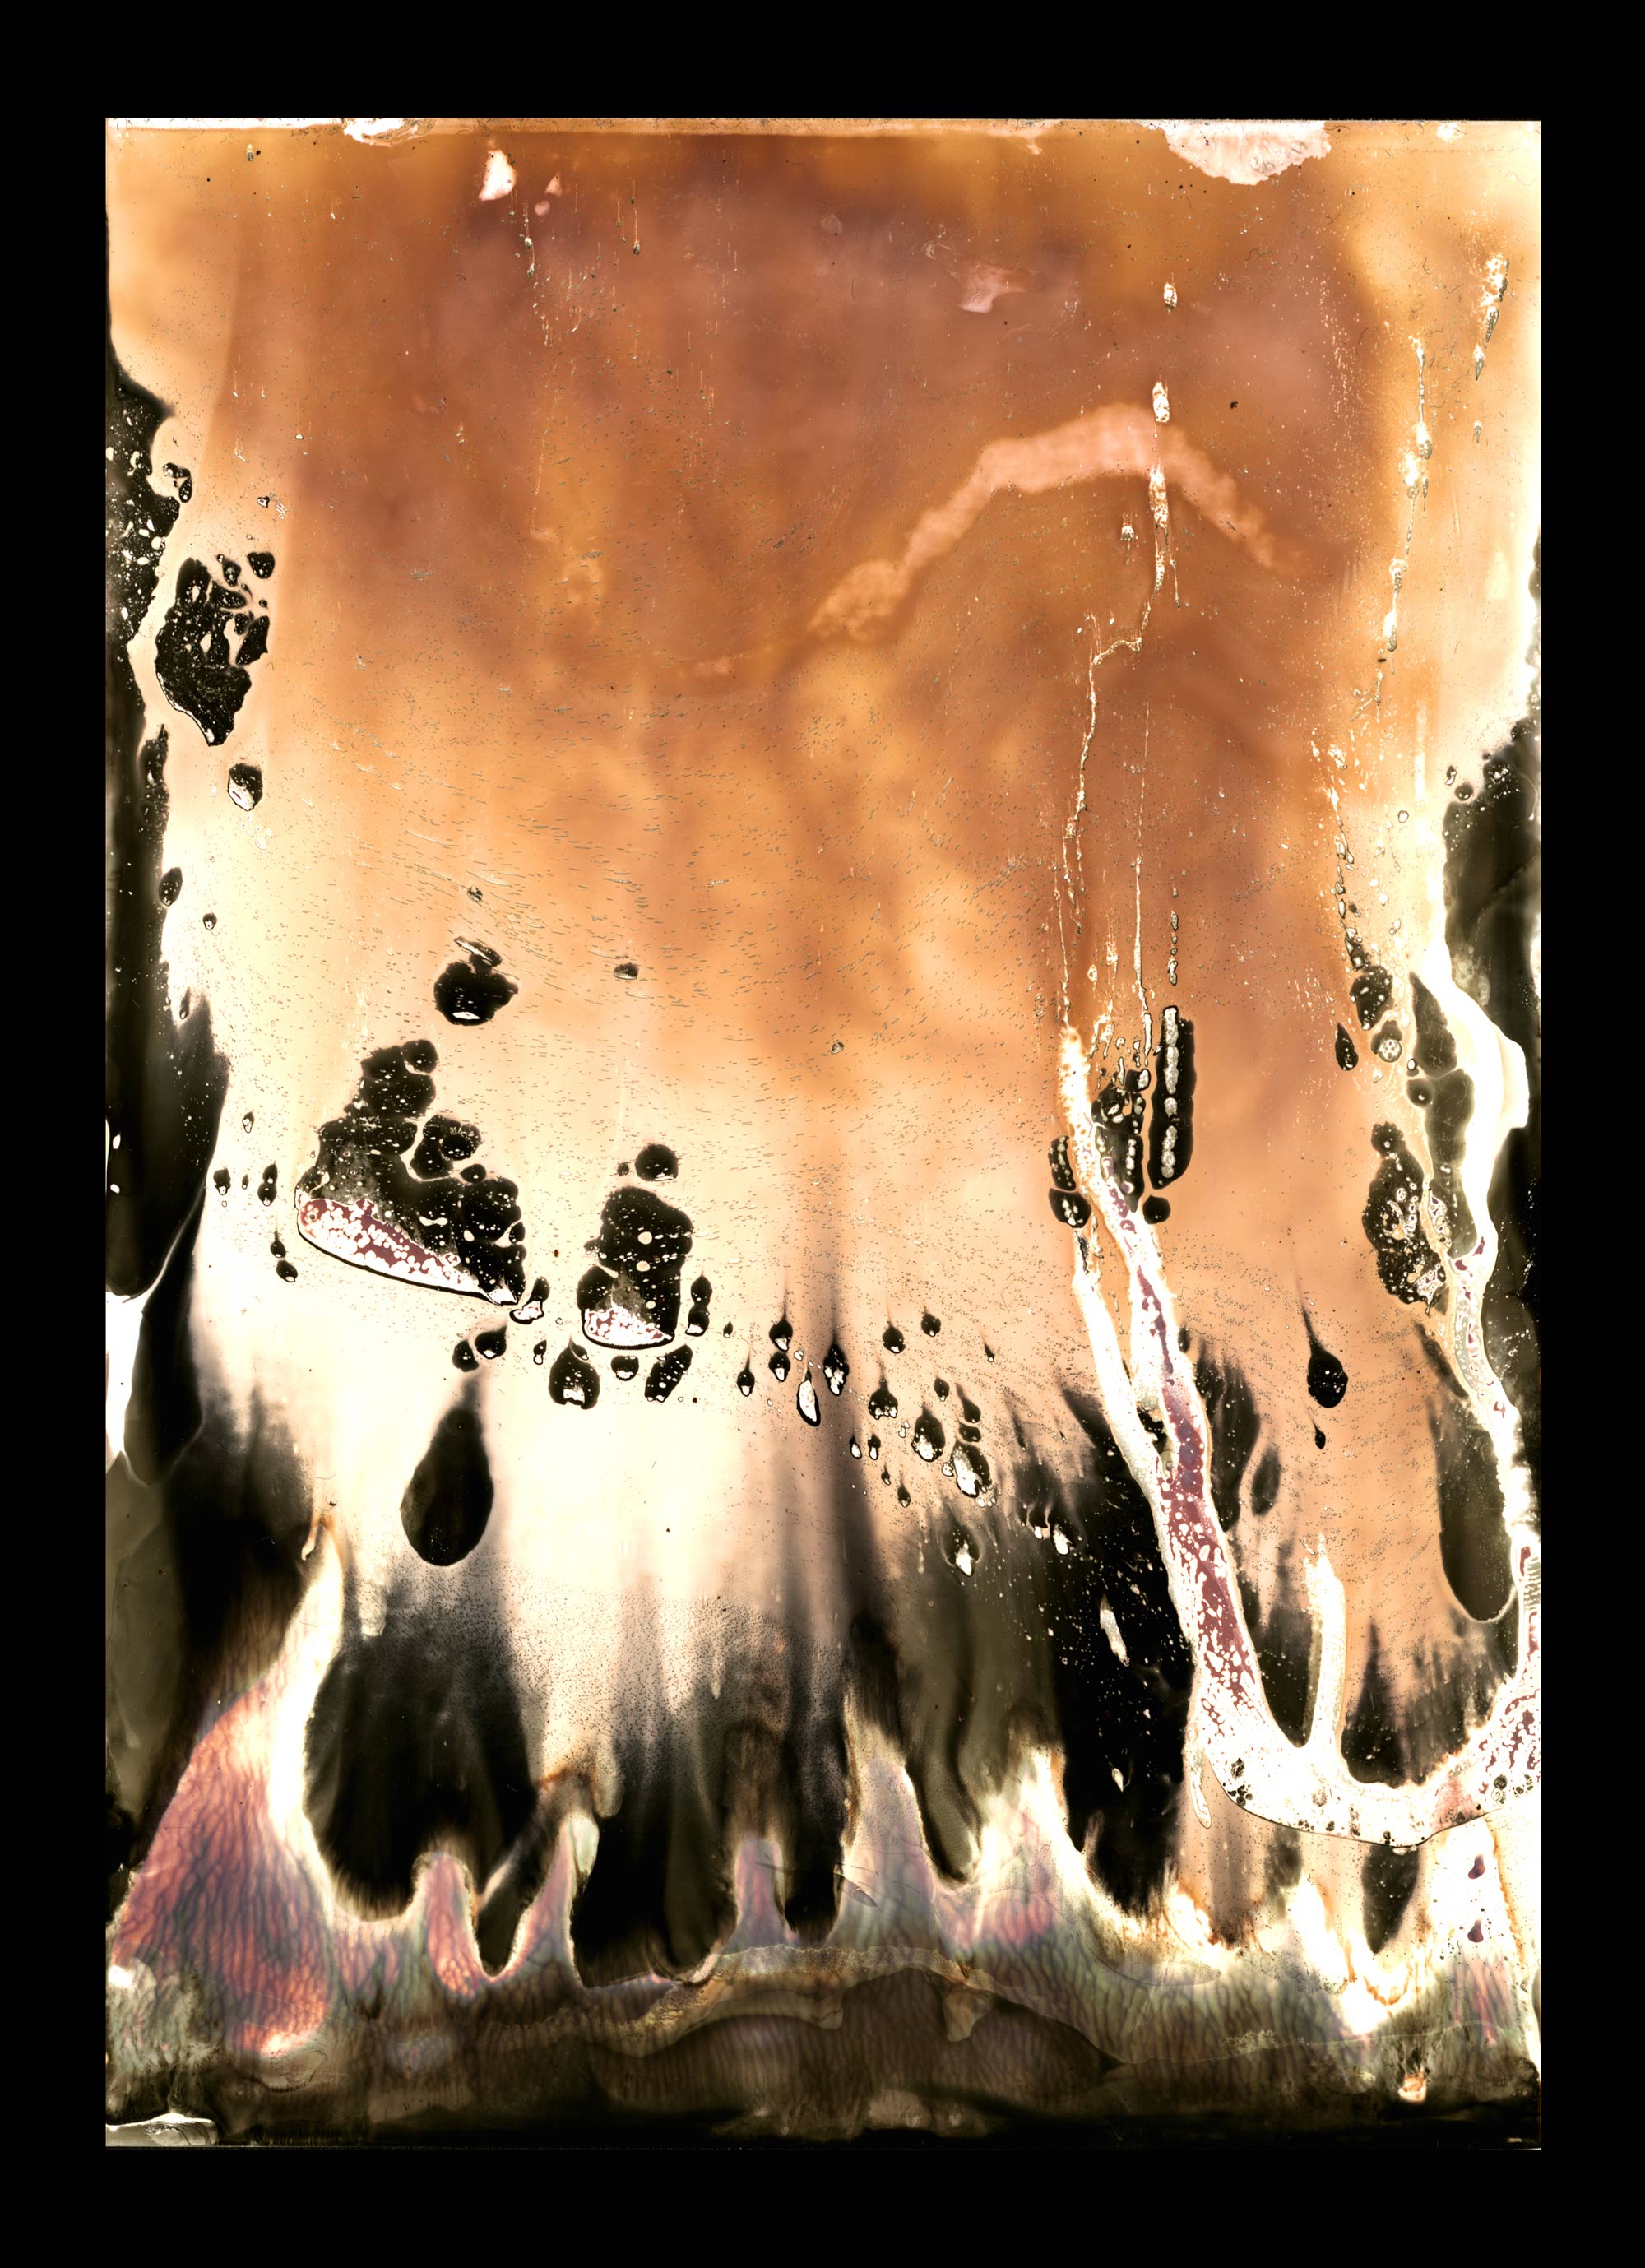
- Fresh paper, straight from the box.
- Submerged one third of paper into stop, turned upside down so chemical runs down paper.
- Submerged two thirds in developer.
- Submerged whole thing in fixer.

Aged paper – taken from box and left exposed to light for an hour until grey.
- Submerged in water, rotated so water runs down paper.
- Submerged half in developer and left to run down paper, creating the black lines.
- Very quickly submerged in Fixer.
- Left overnight with lights on.

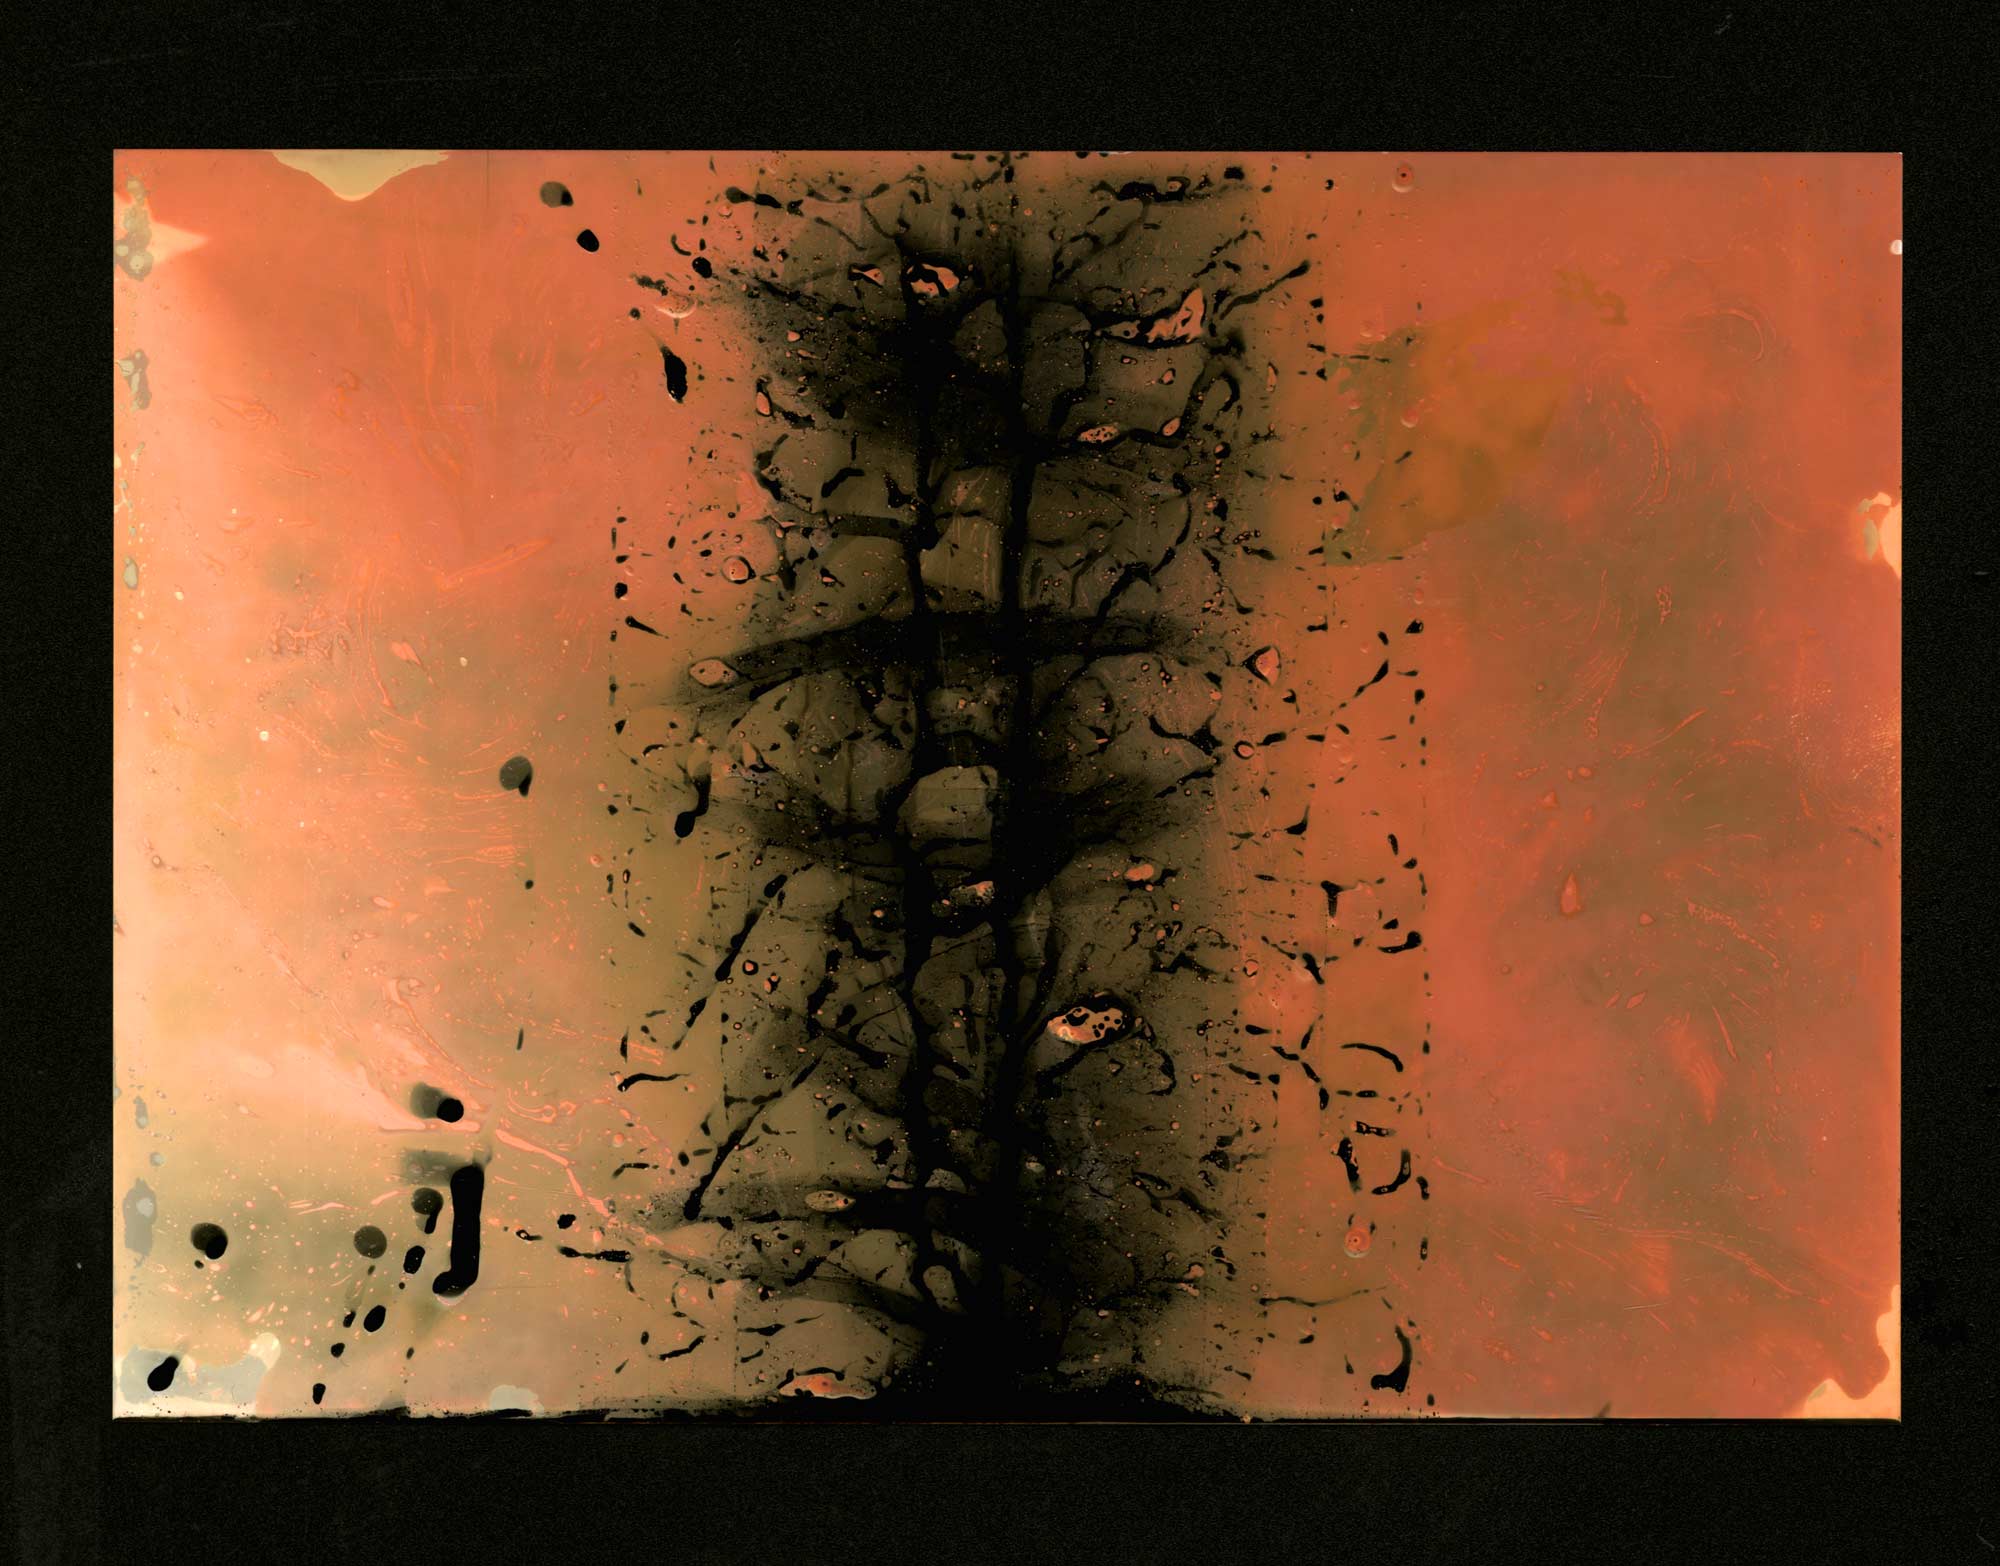
Aged paper – taken from box and left exposed to light for an hour until grey.
- Submerged in a resist of water and oil.
- Submerged in fixer, developer, stop, fixer in very quick succession.
- Left overnight with lights on.

Bend the paper into a U shape so the developer can only touch the middle of the paper increases control over the liquid and produces interesting results.

This piece is probably my favourite and demonstrates the creative potential of Chemigrams. Don’t be afraid to dream big with alternative image making, hell dream big with everything, the beauty is in the discovery, experiment with everything.
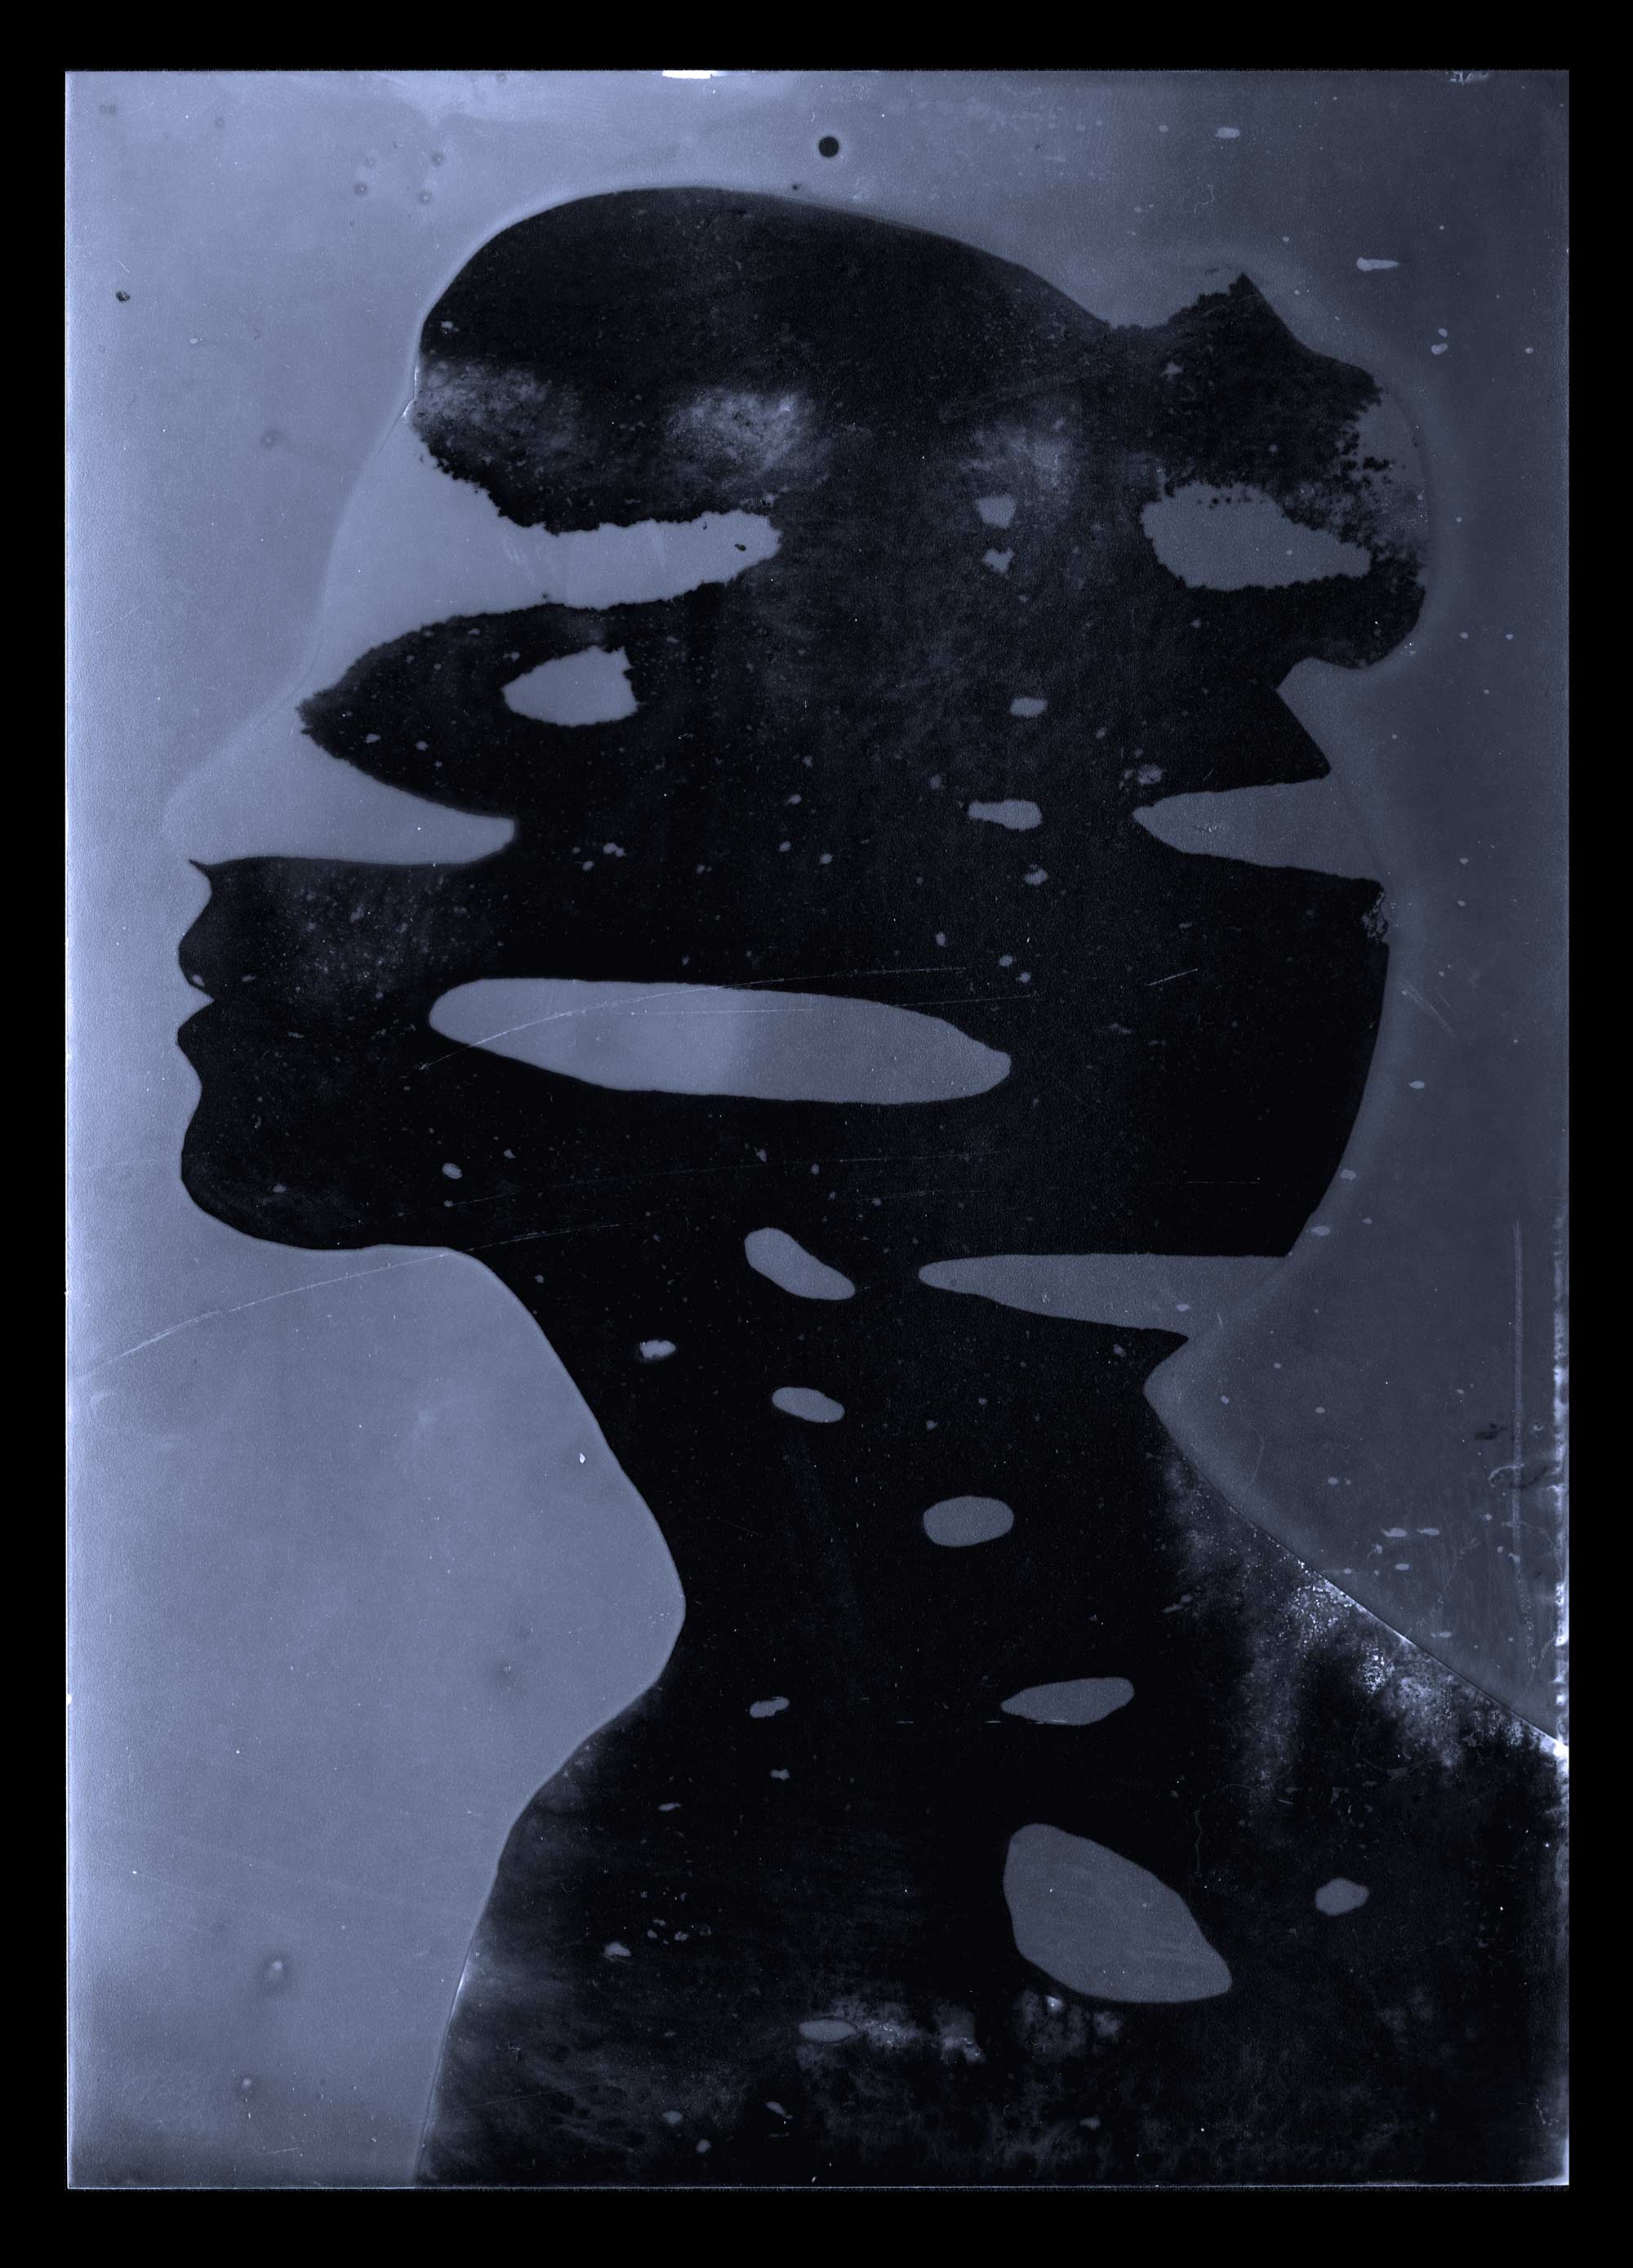
- This is a silhouette printed onto A4 plain paper
- Cut out the silhouette, submerge in fixer, remove from fixer, get rid off excess (dripping will bleed over the edge of the face and not give you a sharp outline).
- Place silhouette over the photographic paper
- Expose photographic paper to UV light until grey (place in windowsill etc.)
- Remove silhouette, wash with water, leave to dry.
Is it still a Chemigram? I don’t know. It’s cool though and was born out of this process. The final image embodies the whole point of study, exploration and experimentation.
Always ask the question WHAT IF?
That’s all that I encourage students to do. Ask what if? What if I painted on it first, what if I put the paper in the inkjet printer, what if I made a Chemigram and buried it for six weeks? We asked what if and this was the result.

All of these images were made in one afternoon of experimentation, imagine what you could do if you committed weeks to it. As always, submit your work and show us how you’ve been inspired. Peace.
