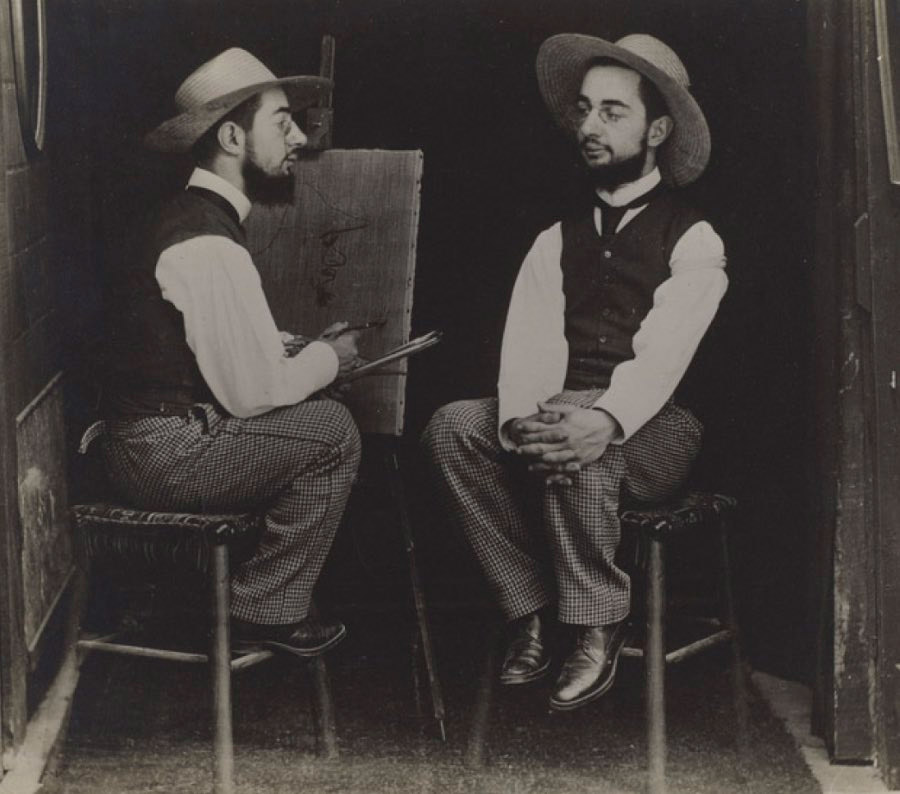
With photographers such as Dan Mountford, Florian Imgrund, Jon Duenas, Sara K Byrne and Cristoffer Reilander championing the renaissance of double exposure photography for a new generation, we’re going to explore how to successfully create a double exposure portrait. Dan Mountford and Cristoffer Reilander both create their images using digital SLR’s, cameras such as the Nikon D700 and the Canon 6D both have a double exposure mode which allows the layering of two images in camera. This technique has been explored by many artists stretching back to the 19th century. Henry Peach Robinson, Man Ray, Herbert Bayer, Jerry Uelsmann and Toulouse Lautrec all experimented with double exposure in a variety of ways. To challenge the viewer, to create a hoax or merely for comedic effect, multiple exposures have been a part of photography since it’s inception.
Henry Peach Robinson

Toulouse Loutrec
For this experiment we used the medium format camera loaded with photo paper, check the previous post here to read more on this. There’s no need to shoot medium format, it works just as well loading a small piece of photo paper into the back of a 35mm camera. Multiple exposure can take a while to get your head around, I recommend starting in this fashion as you can see the results instantly, rather than having to shoot an entire roll of 35mm film before being able to analyse your results. So, you are entering the vicinity of an area adjacent to a location. The kind of place where there might be a monster, or some kind of weird mirror. These are just examples; it could also be something much better. Prepare to enter: The Double Exposure Door.
Our first exposure – what are we looking for
Imagine if you will the shape of your negative, a black rectangle. This rectangle is your frame, anything you take a picture of will appear within this frame.

S o firstly, lets take our portrait
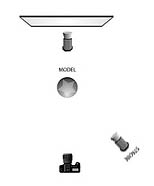
In this example I have used two lights, one behind the model and one in the 45/45 position.
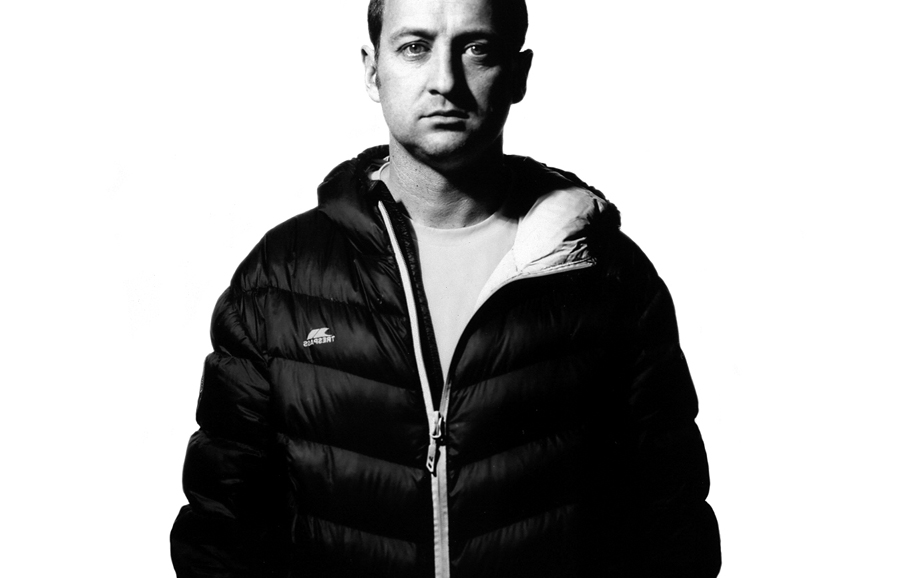
I had previously calculated that the photographic paper has an equivalent of ISO 6, both 400w lights on full power with the camera set at 1/60 @f/5.6 produces a perfectly exposed portrait. See below.

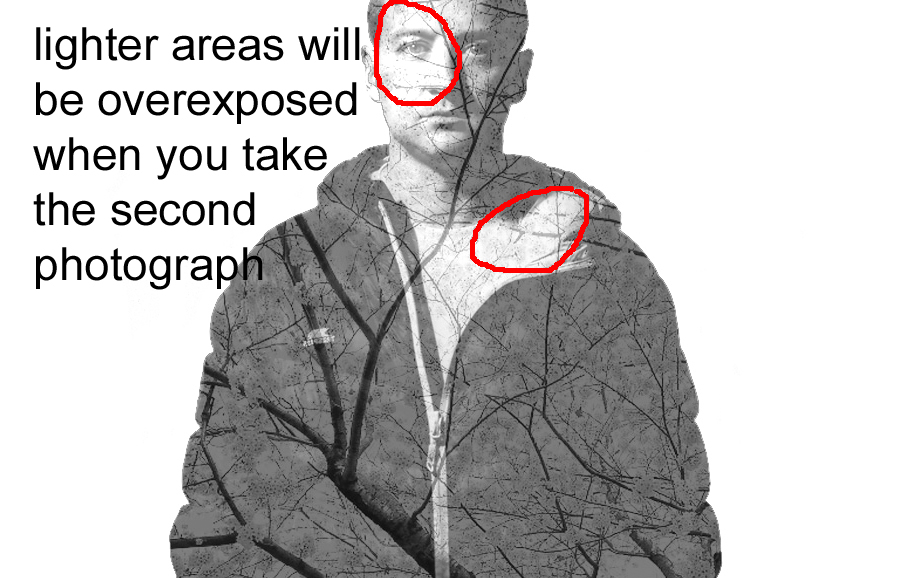
We have a perfectly exposed portrait of a person set against a white background. It’s important to now remember that the shape of our negative is no longer rectangular, and is in fact the shape of the person. Whatever we photograph next will appear within the shape of that person.


This is an example I’ve stitched together in Photoshop, it’s ok, but its a bit too clinical for my taste. I much prefer the blemishes, dust and overall character of the genuine article shot on film. There will always remain a magic when working with double exposure manually as there will always be an element of surprise when you’re presented with the image coming to life before your eyes in the developing tray. This was shot with a white piece of A3 paper as the background for both the portrait and the second exposure of the branch from a spruce tree. I trimmed the branch and then gaffer taped it to a tripod to keep it still. The first few attempts were made outside but the breeze stopped us from getting a perfect shot. The experiments revealed that the first exposure with the light pointing at the background didn’t completely white it out and as such when the second exposure was made some of the tree was visible in the ‘supposed to be white’ areas. It was only with setting the flash off for both the portrait and the second exposure that overexposed the background enough to create a clean background.

