In this article we’re going to look at how to create a Fisheye lens effect using Photoshop in a few really simple steps.

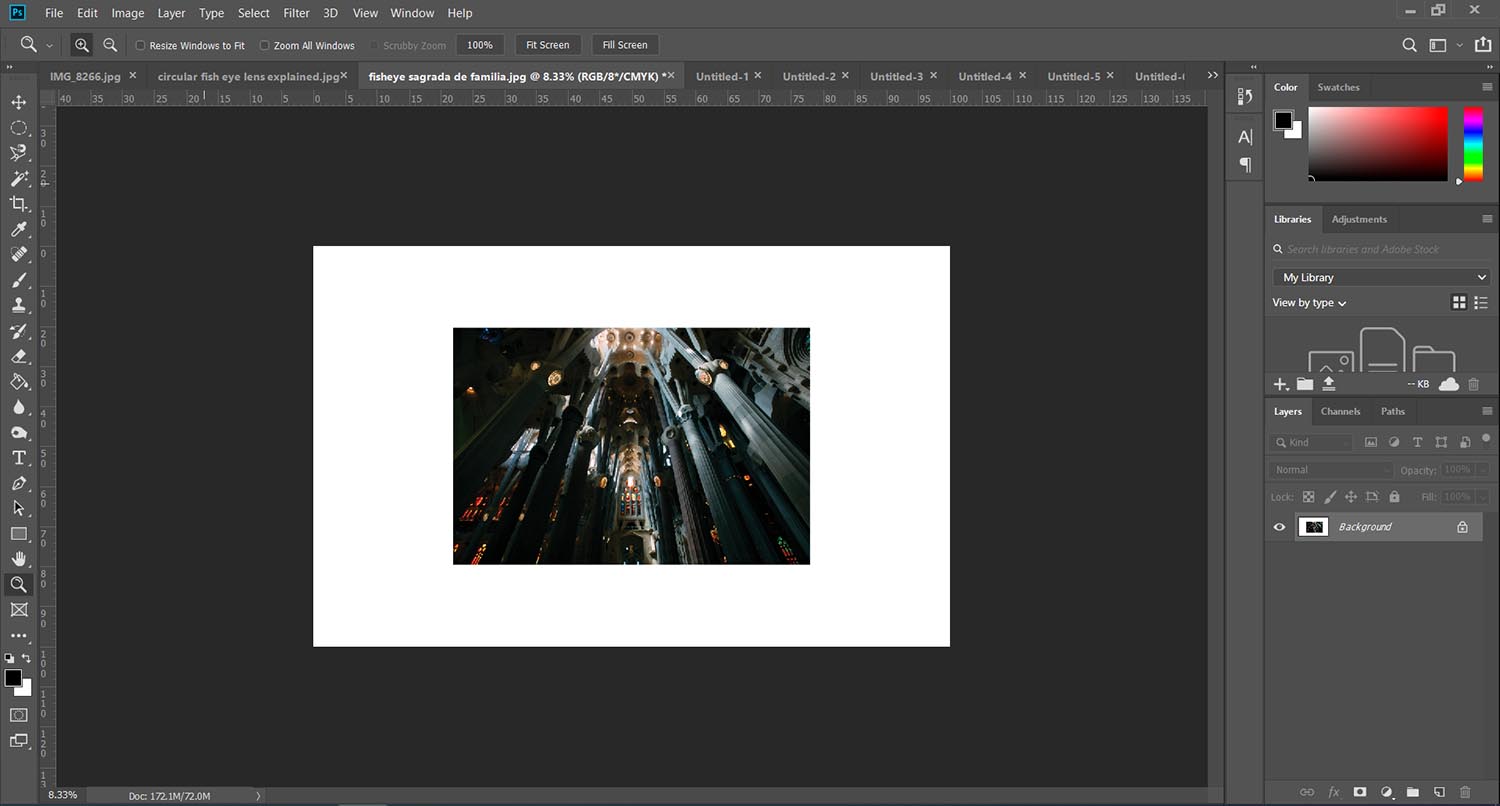
First, open Photoshop and load the image you want to work with.
Next, increase the canvas size. The easiest way to do this is press ‘C’ for crop, and then drag the edges out.
 Next, press ‘M’ and make sure you have the elliptical marquee tool selected, we’re going to draw a circle. Whilst holding down shift to lock in the proportions to make a perfect circle, drag the circle so it covers the entire image.
 Then, in the top menu, select Filter and then choose Distort and then Spherize. Move the slider to +100 and press ok.
 Next, make sure you don’t deslect the circle by mistake and repeat the above step. Go to Filter, Distort and then Spherize. Again selecting +100 and press ok.
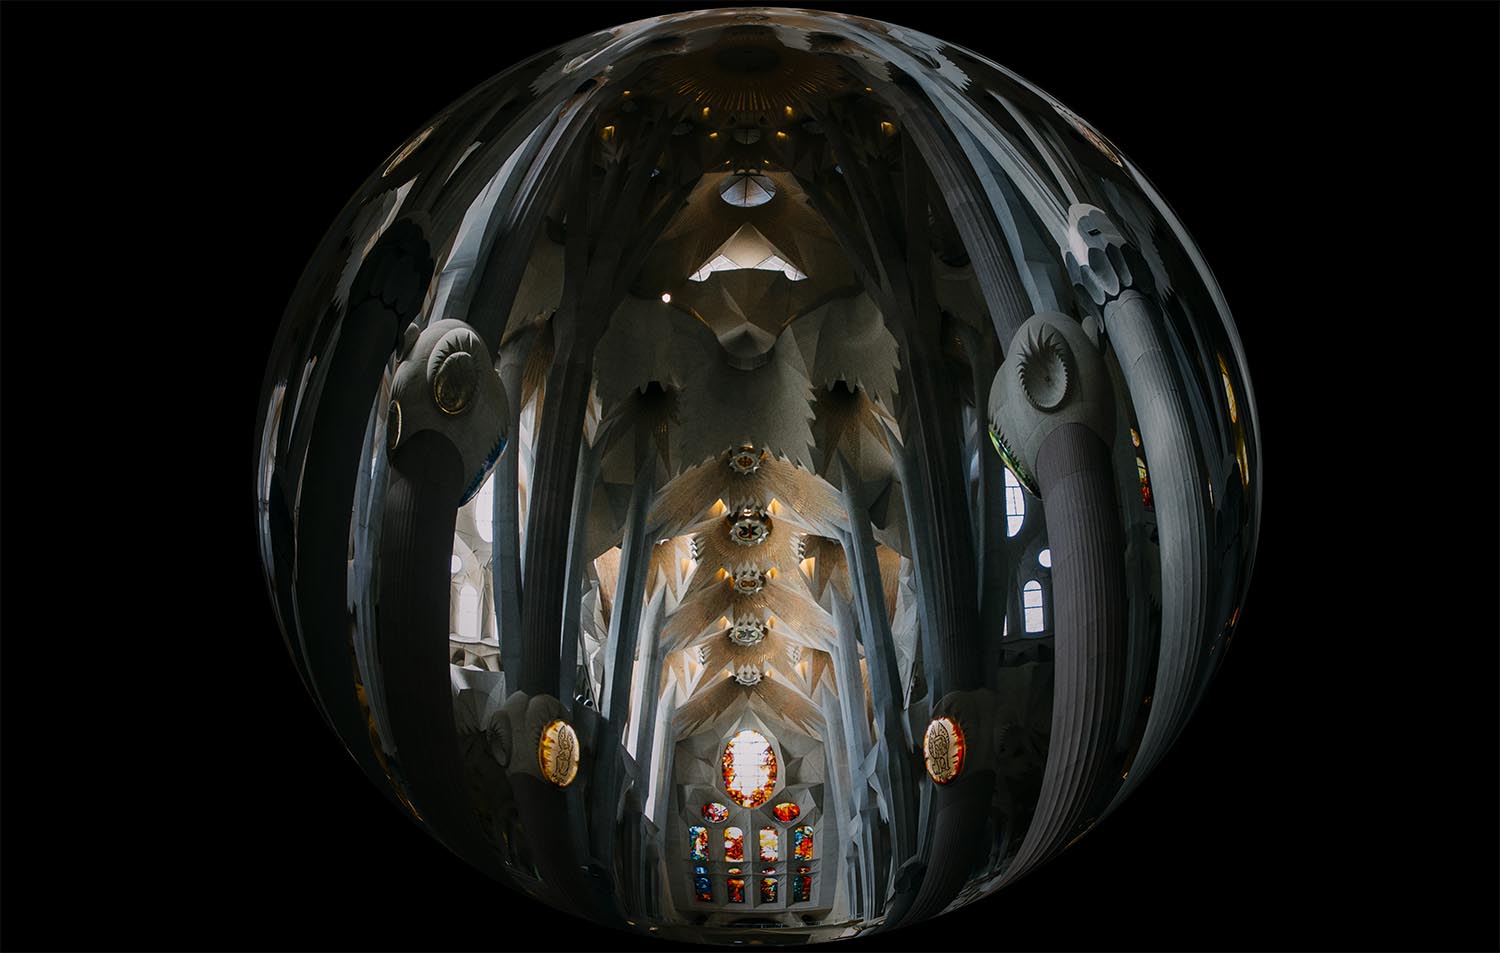
 Using the magic wand tool, select the white area.
 Then choose the paintbucket tool, press ‘G’ if you can’t see it, it may highlight the gradient tool first, click and hold on that to reveal the paintbucket. Then set your colour to black and click on the white space to fill it in black. Go to layer and then right at the bottom ‘flattern image’ and you’re done!