Light trail photography or long exposure photography is often the first thing you want to start experimenting with when you first get a digital or film SLR. The idea that a device can capture cool effects of time passing and represent a journey is fascinating. This fascination can lead to some amazing projects once light trails have been mastered, but first we have to cover the basics.
You’re going to need a tripod.
Why? well the shutter of the camera is going to be open for a long time, if the camera is in your hands, the tiny tremors of your hands moving is enough to create a blurry image. As a rule of thumb you should try to always keep your shutter speeds above the focal length of the lens when shooting handheld, e.g a 50mm lens the shutter speed should be above 1/50, a 500mm lens, the shutter speed should be above 1/500, anything else should be mounted on a tripod to ensure the image doesn’t have motion blur.
There are other things that can affect camera movement, a big contributor is the motion of actually pressing the shutter button. When you press down on it you are obviously exerting a force, this can cause the tripod to wobble and the image can often come out blurry.
To counteract this cameras have a countdown timer, often of either two or ten seconds. This is usually found after pressing the ‘drive’ button, you want to locate an icon that looks like this:

After pressing the shutter, the camera will count down from either two or ten and then take the photograph.
Another good tip for taking long exposure photographs is to weigh down your tripod. Many of them have hooks at the bottom which you can hang your camera bag from, or put sand bags down on top of the legs to keep movement to a minimum and make sure you get a perfect, motion blur free, photograph.
Camera settings
You need to be somewhere that is completely dark, no ambient light at all.
The light trail itself is going to be created by an artificial light source. If you’re shooting cars, then the headlights and brake lights of the cars driving past are what will be recorded. If you’re in a dark room in your home you could use the torch app on your telephone, a desk lamp, Christmas lights, glow sticks etc. use whatever you can find.
I recommend starting off with your camera on the lowest ISO setting, which will be ISO100 on the majority of digital SLR’s. The artificial light will be plenty bright enough, so there’s no need to increase ISO. Set the aperture as high as it will go, normally around f22, this is again to minimise the impact of ambient light and then set your shutter speed at 5 or 10 seconds. Use this as a starting point and then adjust accordingly. The longer the shutter is open for, the more light trails you will capture. Leave it open for too long and the image will be overexposed, so it really depends on where you’re shooting.
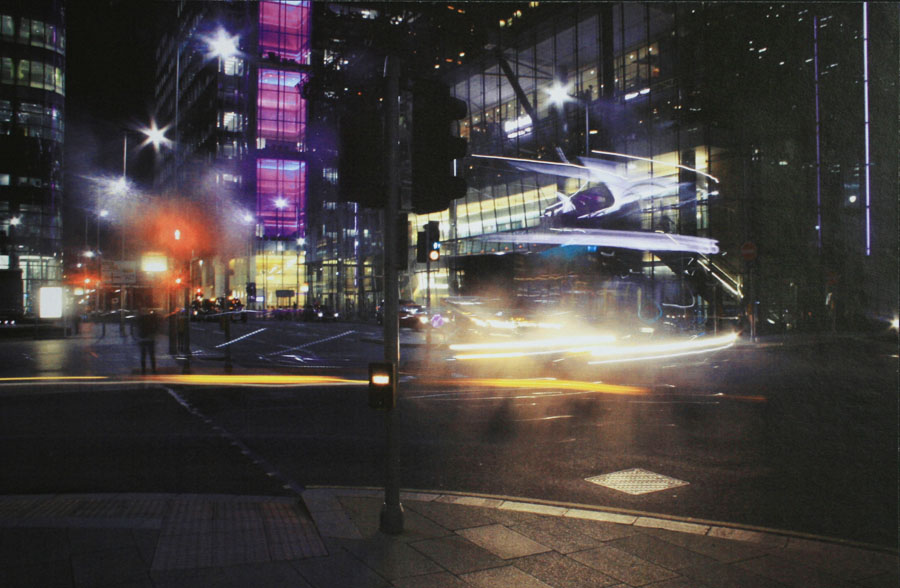
The use of a tripod has kept the camera steady so the buildings in the background and the lamp post in the foreground are crisp and clear with no motion blur. The movement of the traffic has created movement within the frame; the lamp post divides the image but aids composition as the light trails from the traffic lead into it. There is a harmony in the colours of oranges, reds and purples, the movement of the vehicles mirroring the colour of the streetlamps. The added height of light was created by a bus, the upper carriage of a double decker bus in London as it turns has created the swirling pattern which moves from right to left.
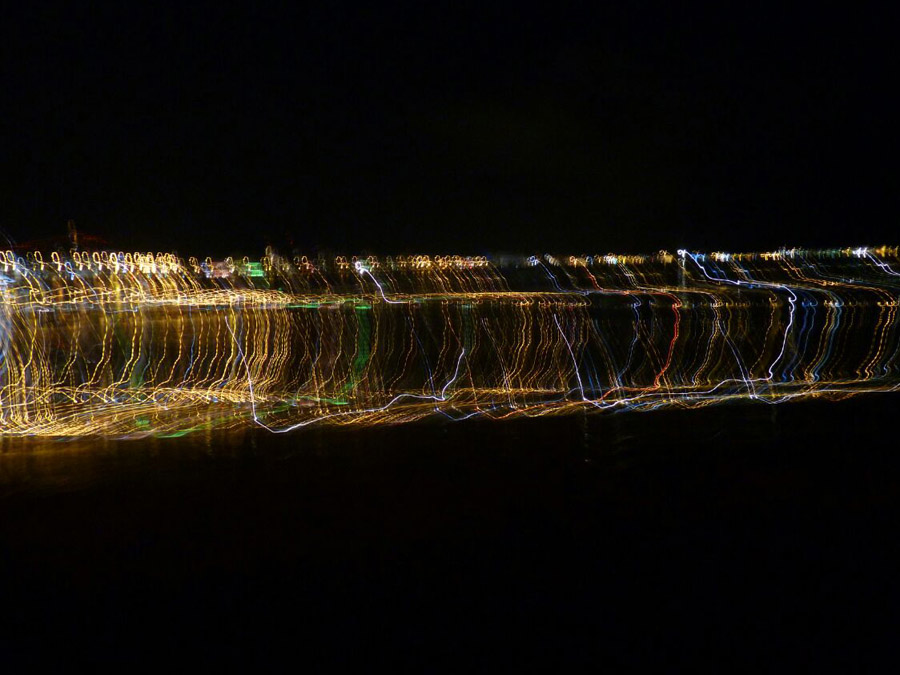
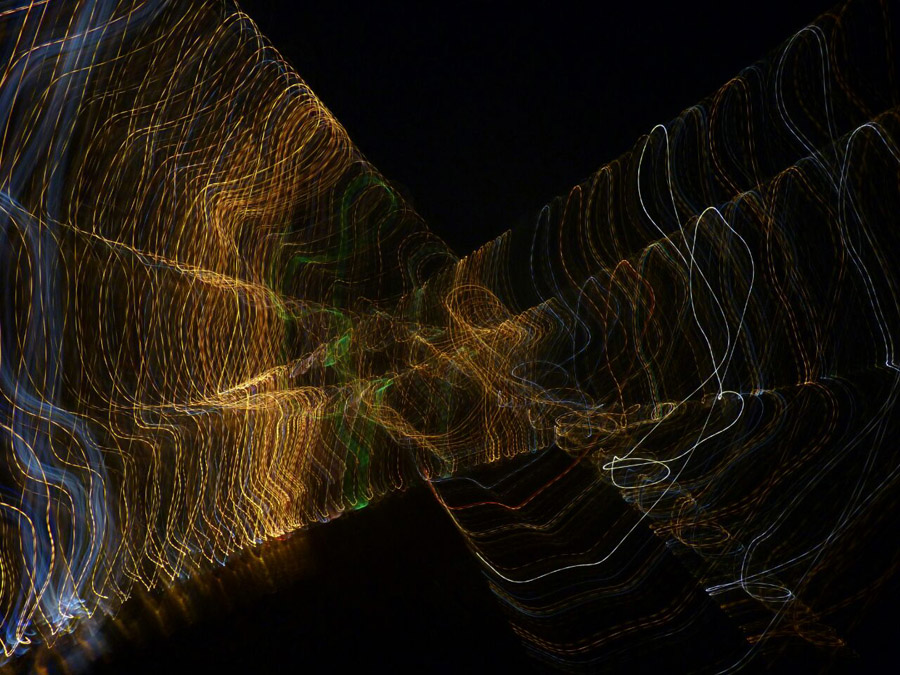
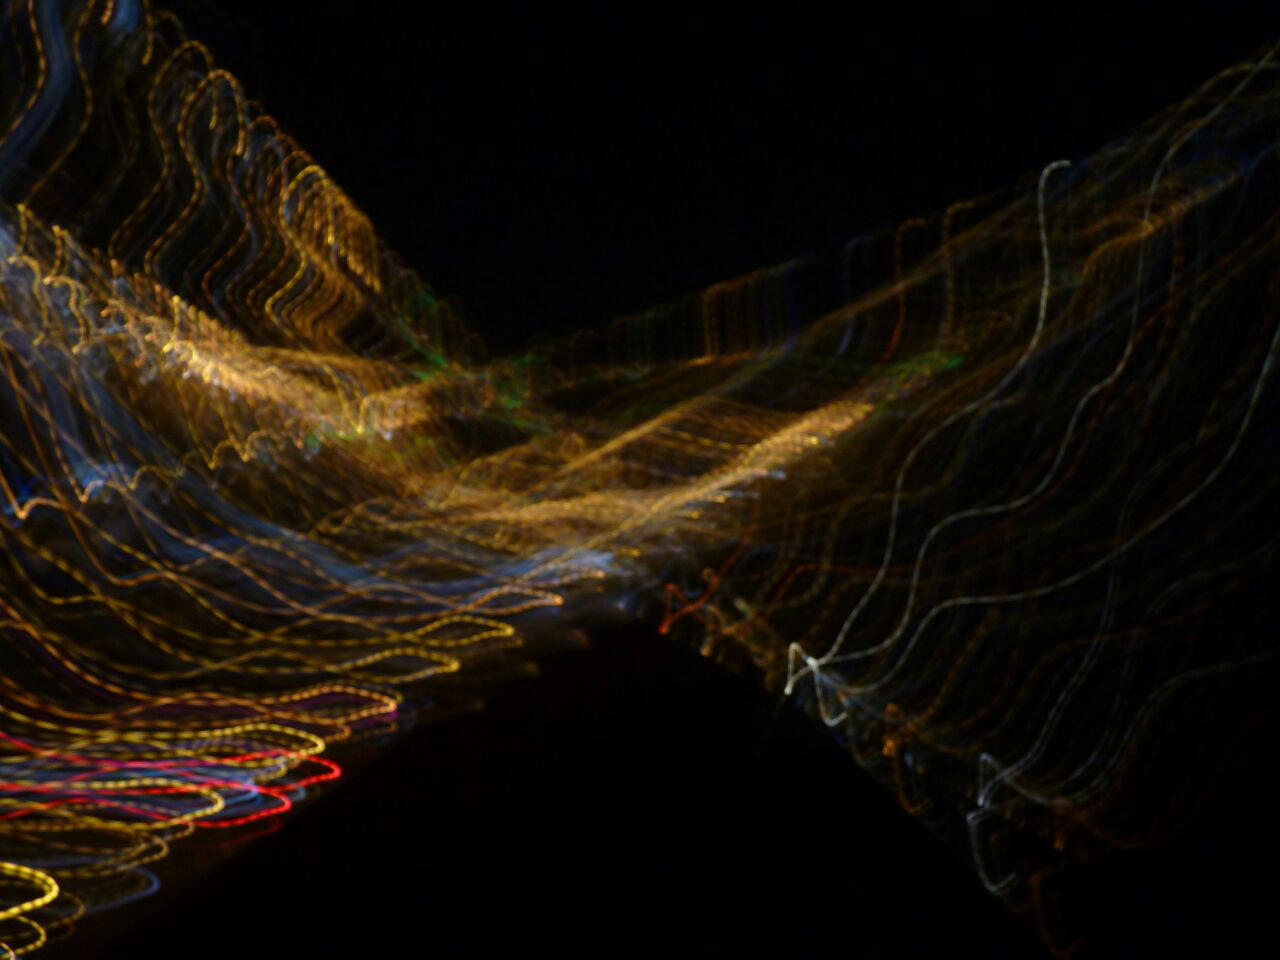
The following images were taken whilst being handheld, the purpose of this was to use the static lights of a cityscape to create interesting patterns. Leaving the shutter open for roughly five seconds and then moving the camera whilst the exposure is taking place allowed for these interesting patterns to be created. The original image is a city viewed from a distance at night, which can be partially made out in the second photograph of the series. Open the shutter and whirl away to create your own unique photographs, don’t forget to experiment with zooming in and out whilst taking the photograph to create even more abstract imagery.

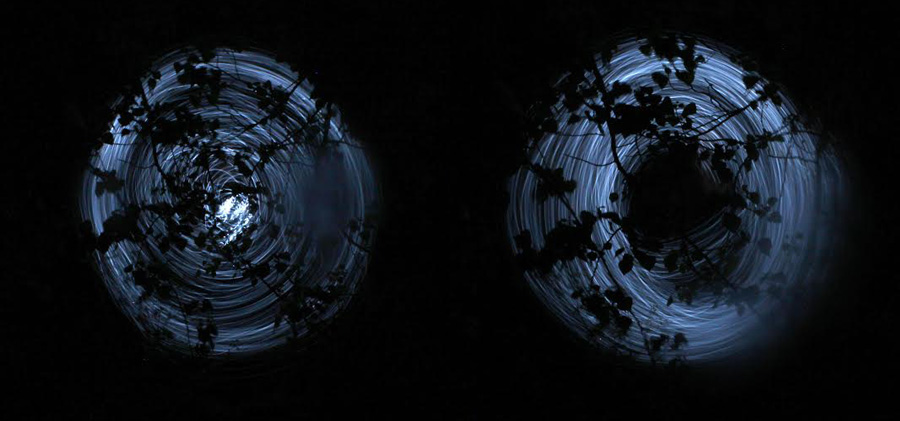
This final pair of images is an extension on the original brief of long exposure photographs. In an attempt to control the entire scene rather than leaving it to the chance of a passing car to illuminate a scene we used battery powered fairy lights. The lights were swung around in a circle to create the movement, in doing this the lights silhouetted the tree branches in front and created the image. The camera was mounted on a tripod to make sure that the leaves were sharp, however because the image was taken outside a slight breeze has caused the tiniest amount of motion blur, but should the project continue this could be easily rectified. A fantastic attempt at trying to create something original based around a brief that is often explored by A-Level and GCSE photography students. Try it for yourself, silhouetting objects against a moving background and see what you can come up with.