Still life photography Ideas – Large format and 35mm Photography
Substituting film for photographic paper
In this still life photography experiment we’re going to use photographic paper to create a negative rather than the traditional film method. I wanted to test this for myself because of its potential cost effectiveness. 25 sheets of Ilford 4×5 film costs around £40 plus developing costs (and time) if I could achieve quality results from photo paper it would save a lot of money in the long run.
First I had to consult the archives to discover the ISO of the paper I was using. The first batch of paper I used was Ilford but I’ve since used Kentmere and Adox and each of them has come out at about ISO 6. This presents us with certain limitations in regards to exposure, you’re either going to need flash or a relatively slow shutter speed. The three cameras I used were a Canon EOS 3 with a 50mm f/1.8 lens, a Horseman 5×4 rail camera with 180mm f/5.6 lens and my camera phone the HTC OneMini. I also used a Bowens 400rx head set to full power for flash exposures and left the modelling lamp on for exposures using the phone. From a mixture of light readings and test exposures the camera should be set at 1/60 at f/5.6. The Horseman 5×4 is mounted on a sturdy tripod, the EOS 3 and camera were hand held.
The photographic paper I bought from firstcall photographic, £25 for 100 sheets is a pretty good deal: http://www.firstcall-photographic.co.uk/adox-mcp-312-semi-matt-5-x-7in-pack-of-100/p3354
Obviously the paper needs to be cut to fit a 5×4 negative holder, but fear not about waste, that’s where the 35mm camera comes in. Any excess can be kept and used for 35mm negatives in future.

After cutting the paper to size I slid it into the film cassette and then used the excess piece and blue tacked it into the back of the EOS 3.
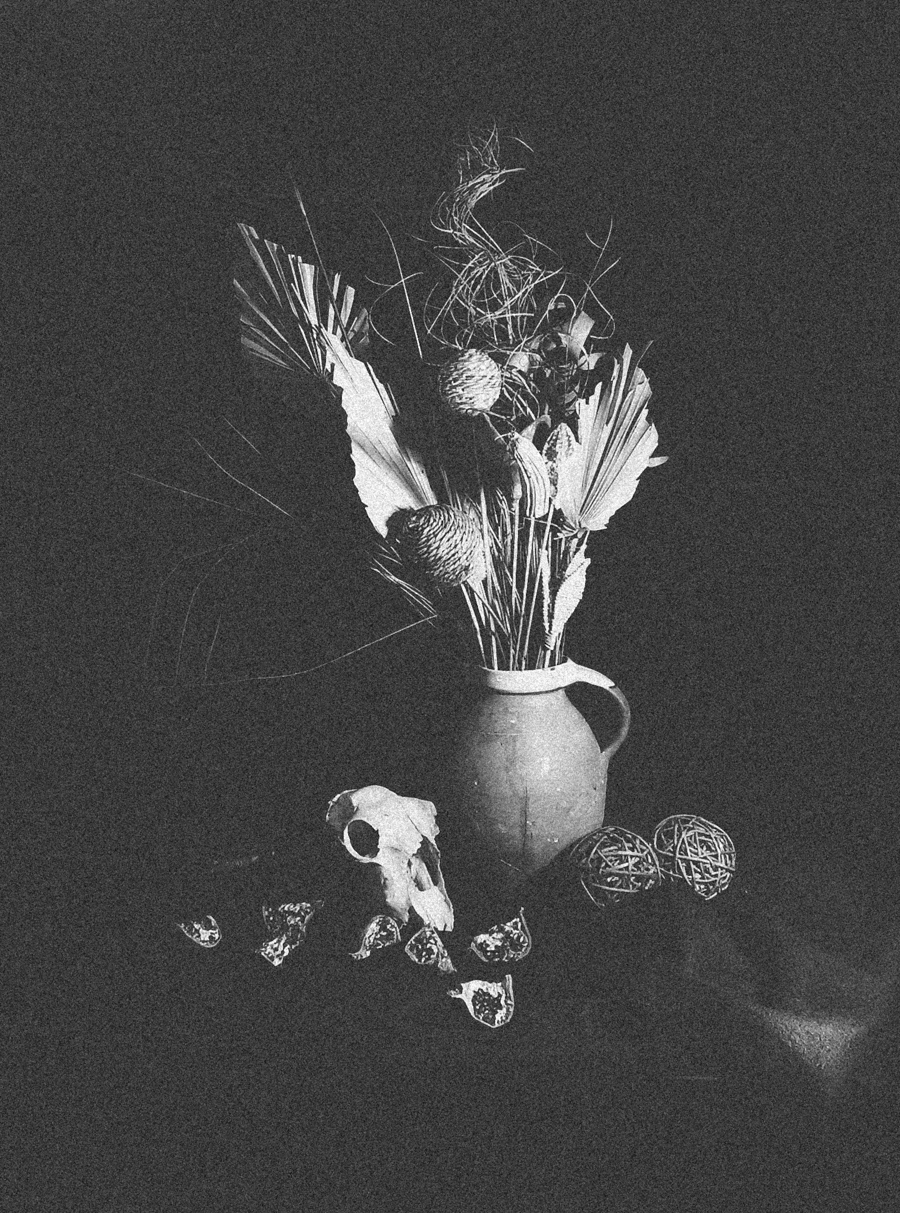
Here’s the set-up of the still life that I made, it consists of dried plants, an animals skull (possibly a badger) and dried pomegranate. The drapery is black cloth, nothing fancy. I wanted to emulate the classic still life paintings of Cezanne etc. which explains the cloth and fruit combination. I don’t have an assistant but wanted to flag some of the excess light and stop it hitting the cloth before the jug. I unscrewed the angling device on the side of the flash head and clamped in a piece of black paper, job done.
 After shooting I scanned the negatives on a simple flatbed scanner at 1200dpi and inverted them. For the phone images I applied my usual black and white preset to the images in Lightroom. Overall I’m quite impressed with the results, It’s as much down to the sharpness of the Schneider lens and the increased quality on offer from a 4×5 negative, however I’d happily substitute a 4×5 negative for photo paper, results are fast and of a high quality, no need to invest in extra developer tanks or holders to host a large format negative and no need to buy any additional chemicals for your darkroom. The 35mm not so much, it can barely make a 6×4 print but for novelty factor and for saving paper it’s worth using for a project in miniature or as a test shot before taking the main image. In the ye olde days of photography photographers would use a polaroid back on a medium format camera to check composition, focus and exposure, so the 35mm could be used as a substitute for that.
HTC ONE Mini with black and white preset applied
Canon EOS 3 with photopaper
Canon EOS 3 with photopaper
Horseman 4×5 with photopaper
