The World of Canon Camera Hacks and Custom Firmware
First off, what is Firmware? In order to know what we’re hacking, we need to know the basics.
Camera firmware refers to the software that is embedded within a digital camera’s hardware. It serves as the operating system for the camera. Camera firmware is pre-installed by the manufacturer and is responsible for managing the camera’s hardware components, handling image processing, and providing the user interface for settings and controls.
Here are some key aspects and functions of camera firmware:
- Hardware Control: Camera firmware interacts with the camera’s hardware components, including the image sensor, shutter, autofocus system, lens communication, and other internal mechanisms. It ensures that these components work together seamlessly to capture images and videos.
- Image Processing: Firmware plays a crucial role in processing the raw image data captured by the sensor. It applies various algorithms to convert raw sensor data into final images or videos, including colour correction, noise reduction, and sharpening.
- User Interface: Camera firmware provides the user interface that allows photographers to adjust settings, change shooting modes, and control various parameters such as ISO, aperture, shutter speed, and white balance. It also displays important information like battery status, exposure settings, and image previews on the camera’s LCD or electronic viewfinder.
- Feature Sets: Manufacturers often release firmware updates to add new features, improve existing ones, or fix bugs and issues. These updates can enhance a camera’s capabilities, provide compatibility with new accessories, or improve overall performance.
- Customization: Some cameras offer user-customizable settings and profiles through firmware. Photographers can save their preferred settings as presets, which can be accessed and applied quickly when needed.
- Security and Stability: Firmware includes security measures to protect the camera from unauthorized access and ensure that it operates safely and reliably. It also manages error handling and recovery in case of unexpected events or issues.
- Compatibility: Firmware must be compatible with the camera’s hardware and any accessories or lenses used with it. Manufacturers may release firmware updates to address compatibility issues or improve performance with specific lenses or accessories.
- Connectivity: In modern digital cameras, firmware manages connectivity options such as Wi-Fi, Bluetooth, or USB, allowing users to transfer images, control the camera remotely, or update firmware wirelessly.
- Localization: Firmware often supports multiple languages and regional settings, making it possible for users around the world to navigate and operate their cameras in their preferred language.
Camera manufacturers occasionally release firmware updates to improve camera performance, add new features, fix software bugs, and enhance compatibility. It’s essential for camera owners to periodically check for firmware updates and follow the manufacturer’s instructions to keep their cameras up to date and functioning at their best.
Canon camera hacks and custom firmware can open up a world of possibilities for photographers. Here are some detailed examples of what you can achieve with these hacks and customizations:
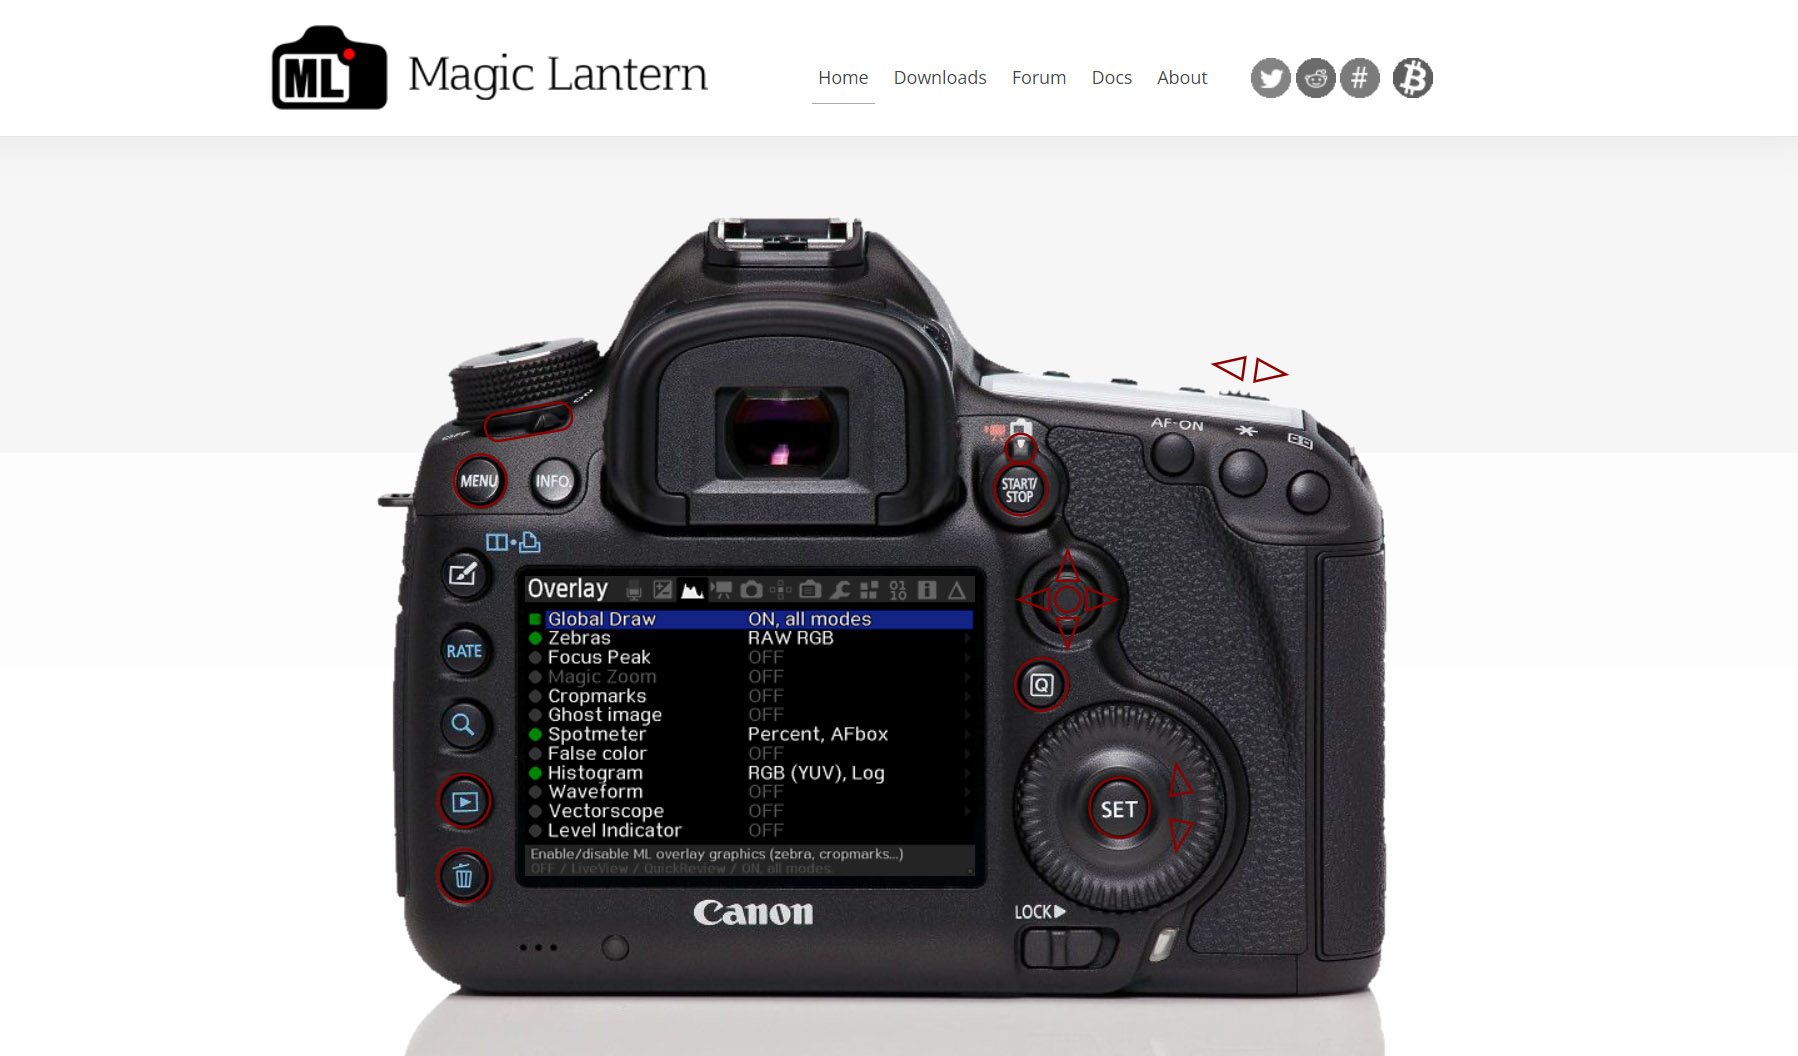
Magic Lantern Firmware Hacks
Magic Lantern is a popular third-party firmware extension for Canon DSLR cameras that provides a wide range of additional features and functionalities for both still photography and video recording. Below is a list of some of the notable features Magic Lantern can offer for both stills and video:
For Still Photography:
- Advanced Exposure Control: Magic Lantern enhances exposure control by providing features like spot metering, dual ISO, and exposure bracketing.
- HDR Bracketing: It allows you to capture a series of images at different exposures for High Dynamic Range (HDR) photography.
- Focus Peaking: Helps achieve precise manual focus by highlighting in-focus areas with coloured outlines.
- Intervalometer: Provides a built-in intervalometer for time-lapse photography.
- Bulb Timer: Allows for long-exposure shots by providing precise control over bulb exposures.
- Advanced Histogram: Provides a more detailed histogram display for better exposure evaluation.
- Audio Controls: Offers audio levels control for video recording and an audio-triggered image capture function.
- Custom Cropmarks: Lets you add custom overlays, framing guides, and composition aids.
- Advanced Bracketing: Enables focus, exposure, and white balance bracketing for creating composite images.
- Advanced Video Features: Although primarily designed for video, Magic Lantern offers features like focus assist, zebras, and waveform monitoring that can be beneficial for stills in challenging lighting conditions.
- Advanced Exposure Aids: Magic Lantern offers features like false colour, histogram-based exposure assistance, and spot metering to aid in achieving accurate exposure.
- Focus Racking: This feature allows you to set focus points and smoothly transition between them during video recording for professional-looking focus pulls.
- Advanced White Balance Controls: Provides tools for setting custom white balance, colour temperature adjustments, and fine-tuning colour correction.
- Customizable User Interface: Magic Lantern allows users to customize the on-screen display, including information overlays, histograms, and audio meters.
- Auto ETTR (Expose To The Right): Automatically adjusts exposure settings to maximize image quality while avoiding overexposure.
- Crop Mode: Enables you to crop the sensor area for different aspect ratios and achieve a telephoto effect without changing lenses.
- Advanced ISO Control: Offers ISO presets, ISO ramping, and custom ISO settings beyond the camera’s native capabilities.
For Video Recording:
- Bitrate Control: Magic Lantern allows you to adjust video bitrates, offering higher quality video recording options.
- RAW Video: Provides the capability to record RAW video footage for the highest image quality and post-production flexibility.
- Focus Assist: Offers features like focus peaking, zoom-in while recording, and rack focus to assist with manual focus during video recording.
- Zebras: Displays zebra stripes on overexposed areas of the frame, helping with exposure control.
- Waveform Monitoring: Provides a real-time waveform monitor for precise exposure adjustments.
- Audio Monitoring: Offers audio level meters and headphone monitoring for improved audio recording quality.
- Magic Zoom: Allows for real-time zooming during video recording for critical focus adjustment.
- Custom Cropmarks: Lets you add custom overlays, framing guides, and composition aids specifically for video.
- Advanced Time-lapse Features: Offers advanced time-lapse settings like silent picture taking, exposure ramping, and bulb ramping for smooth transitions.
It’s important to note that using third-party firmware like Magic Lantern may void your camera’s warranty and carries some risks, so it’s important to research and consider your camera’s compatibility and your specific needs before installation.
CHDK – Canon Hack Development Kit
The Canon Hack Development Kit (CHDK) is a custom firmware extension primarily developed for Canon compact digital cameras, specifically the PowerShot series. CHDK enhances the functionality of these cameras by providing a wide range of features and tools for both still photography and video recording. While CHDK and Magic Lantern (primarily developed for Canon DSLRs) share some similarities in their purpose of extending camera capabilities, they have significant differences in terms of supported cameras and features.
Here are some of the notable features of CHDK, including some that are unique or distinct from Magic Lantern:
- RAW Image Capture: CHDK enables RAW image capture on Canon compact cameras that don’t natively support this feature. This allows for greater post-processing flexibility and improved image quality.
- Scripting: CHDK includes a powerful scripting language that allows users to create custom scripts for automation, intervalometer control, motion detection, and more. This scripting feature is extensive and provides significant control over camera functions.
- Live Histogram and Zebra Stripes: CHDK offers live histograms and zebra stripes for exposure monitoring directly on the camera’s LCD screen.
- Custom Grids: Users can enable custom grids or overlays on the live view display for better composition and framing.
- Depth of Field (DoF) Calculator: CHDK includes a DoF calculator that helps photographers determine the depth of field for their shots based on focal length, aperture, and subject distance.
- Battery Status: CHDK provides detailed battery status information, including voltage and capacity, which can be useful for monitoring battery health.
- Advanced Bracketing Modes: Users can access advanced bracketing modes, including focus bracketing and exposure bracketing with extended options.
- Custom User Interface: CHDK allows for customization of the on-screen display, allowing users to enable or disable specific information overlays.
- Additional Exposure Modes: CHDK introduces extra exposure modes like shutter priority, aperture priority, and manual mode on some cameras that lack these modes in their original firmware.
- Remote Shutter Release: Users can use CHDK to remotely trigger the camera through USB or other methods, expanding the options for creative photography.
- Extra Video Options: Some CHDK-enabled cameras gain access to enhanced video features, including custom bitrates and extended recording times.
It’s important to note that CHDK primarily targets Canon compact cameras, while Magic Lantern is designed for Canon DSLR cameras. As a result, they serve different camera categories and have distinct feature sets tailored to their respective hardware.
While CHDK offers unique scripting capabilities, RAW image capture, and enhanced exposure controls for Canon compact cameras, Magic Lantern focuses on extending video capabilities, audio controls, and advanced features for Canon DSLRs. Both firmware extensions are valuable tools for photographers and videographers looking to push the capabilities of their Canon cameras, but their compatibility and features are specific to their intended camera types.
Firmware hacking to take pictures of space
You can use the CHDK firmware hacks on a cheap PowerShot camera and send it to space, just like in this video, just replace the gopro they’re using with your powershot and you’ll get cool pictures of space!
Other Firmware Hackers
Magic Lantern is one of the most well-known custom firmware options for Canon DSLR cameras, there are also custom firmware projects available for other camera brands and models. Here are some notable custom firmware alternatives:
- Sony Alpha Hack (A-Hack): An alternative firmware project aimed at certain Sony Alpha mirrorless cameras. It offers features like lossless raw video recording, improved bitrate control, and enhanced ISO performance.
- PTool Firmware Modifier: Designed for Panasonic Lumix cameras, PTool allows users to modify and customize the firmware settings of their cameras, enabling features like higher bitrates for video recording.
- LumaForge Jellyfish: A firmware option for the LumaForge Jellyfish shared storage solutions used in professional video editing environments. It offers advanced customization and monitoring options for storage management.
- OpenMemories: Tweak: This custom firmware project is for some Sony cameras and allows users to enable advanced features and settings, such as exposure bracketing and disabling the shutter sound.
- EOSCard: Not a firmware itself, but a tool that allows you to create a bootable SD card to install custom firmware on Canon cameras. It can be used in conjunction with Magic Lantern or CHDK.
- Samsung NX Hack: An unofficial firmware for some Samsung NX mirrorless cameras that unlocks advanced features, including custom bitrates for video recording.
- Unified Magic Lantern (UMC): An alternative firmware for some Canon cameras, UMC aims to combine the features of Magic Lantern and CHDK into a single platform.
It’s important to note that custom firmware projects can vary in terms of camera compatibility, features, and stability. Some projects may have active communities and ongoing development, while others may be less actively maintained. Before attempting to install any custom firmware, it’s crucial to research and verify compatibility with your specific camera model, understand the potential risks involved, and follow installation instructions carefully to avoid damaging your camera or voiding its warranty. Additionally, always use custom firmware responsibly and in accordance with applicable laws and regulations.
Can you emulate film with Firmware?
Answer – not easily.
The simplest way to do that is in post:
- Presets and Filters: Many image editing applications, like Adobe Lightroom and Adobe Photoshop, offer film emulation presets and filters that mimic the color grading, contrast, and grain patterns of specific 35mm film stocks. Popular presets include VSCO, Mastin Labs, and RNI Films, among others.
- Color Grading: Skilled color grading in video editing software can replicate the distinct color profiles of various film stocks. This involves adjusting the color balance, saturation, and contrast to match the desired film look.
- Film Grain Overlays: Some post-processing software allows users to apply film grain overlays to digital images or video footage. These overlays simulate the grain structure found in 35mm film, adding a vintage and organic feel to the visuals.
- LUTs (Look-Up Tables): LUTs are used in video post-production to apply specific color and contrast adjustments. You can find LUTs that emulate the look of different film stocks, making it easier to achieve the desired filmic appearance.
- Film Simulation Modes: Some digital cameras, particularly from Fujifilm, offer built-in film simulation modes that aim to reproduce the characteristics of classic film stocks like Velvia, Provia, or Astia. While these modes don’t replicate 35mm film exactly, they can create a similar look.
- Custom Color Profiles: Advanced users can create custom color profiles or calibration settings for their cameras to achieve a filmic appearance. This approach may require more technical knowledge and calibration equipment.
- Film Scanner Software: When digitizing film negatives or slides using a film scanner, the accompanying software often includes options to adjust color balance and contrast to achieve the desired film look.
- Specialized Film Emulation Software: There are dedicated software packages like Alien Skin Exposure X and DxO FilmPack that specialize in replicating the aesthetics of different film stocks, including 35mm varieties.
It’s important to note that emulating 35mm film involves more than just adding grain or altering colors; it also includes replicating the unique characteristics and imperfections of specific film stocks. The choice of film emulation method depends on your preferences and the level of control you require over the final result. Experimenting with different techniques and software can help you achieve the filmic look that best suits your creative vision.
Focus Stacking Hack
Focus stacking is a powerful technique in photography used to achieve greater depth of field in images, especially in situations where it’s challenging to capture the entire scene in sharp focus in a single shot. This technique involves taking multiple photographs of the same subject with varying focus points and then blending or stacking these images together using specialized software to create a final image that is sharp from the foreground to the background.
Here’s a detailed explanation of the focus stacking process:
- Set Up Your Camera: Begin by mounting your camera on a sturdy tripod to ensure stability. Using a tripod is crucial because it helps maintain consistent framing between each shot.
- Choose Your Subject: Select a subject that requires greater depth of field, such as macro photography (close-up shots of small objects), landscapes, or any scenario where you want both foreground and background elements to be in focus.
- Adjust Camera Settings: Set your camera to manual mode to have full control over settings. Choose a narrow aperture (high f-number, e.g., f/8 or higher) to maximize depth of field. Additionally, use a low ISO setting to minimize noise and maintain image quality.
- Plan Your Focus Points: Determine the number of images you’ll need and the focus points for each shot. Start by focusing on the nearest part of your subject (foreground) and gradually shift the focus towards the farthest part (background). It’s essential to overlap the focus points slightly to ensure a seamless transition during stacking.
- Take Multiple Shots: Capture a series of images, adjusting the focus manually for each shot. You may need a remote shutter release or use the camera’s self-timer function to minimize camera shake.
- Transfer Images to Computer: Once you’ve taken all the required shots, transfer them to your computer for post-processing.
- Stack Images: Use specialized focus stacking software, such as Adobe Photoshop, Helicon Focus, or Zerene Stacker, to blend the images together. These programs automatically align the images and merge the areas in focus, creating a single composite image.
- Refine the Stacked Image: After the software completes the initial stack, review the result. You may need to manually adjust specific areas if the software didn’t align or blend them perfectly.
- Export the Final Image: Once you’re satisfied with the result, export the final stacked image. It should now display sharp focus from the foreground to the background, achieving the desired depth of field.
Heres a video:
Focus stacking is a versatile technique that allows photographers to overcome the limitations of a camera’s depth of field, enabling them to capture intricate details and maintain clarity in various photographic scenarios. It’s especially valuable for macro, landscape, and product photographers who require precise control over depth of field to create stunning, fully focused images.
Expanding ISO Range
Here is a general step-by-step guide on how to use the ISO Expansion feature in Magic Lantern:
Before you begin:
- Check Compatibility: Ensure that your Canon DSLR camera model is supported by Magic Lantern. Not all Canon cameras are compatible, and Magic Lantern is continually updated to support new models.
- Install Magic Lantern: If you haven’t already, install Magic Lantern on your camera following the installation instructions specific to your camera model. Be sure to use the correct version of Magic Lantern for your camera’s firmware.
Using ISO Expansion in Magic Lantern:
- Access the Magic Lantern Menu: After installing Magic Lantern, turn on your camera. To access the Magic Lantern menu, press the “Trash” or “Delete” button (usually marked with a trash can icon) while in Live View mode or during regular shooting.
- Navigate to the ISO Settings: In the Magic Lantern menu, navigate to the “Shoot” or “Expo” tab using the camera’s directional buttons or touchscreen (if applicable).
- Enable ISO Expansion: Look for an option related to ISO expansion. It may be labeled as “ISO Expansion” or “Expanded ISO.” Enable this option.
- Select ISO Range: After enabling ISO expansion, you should be able to set higher ISO values than those available in the camera’s native firmware. Depending on your camera model, this may allow you to select ISO values like 25,600, 51,200, or even higher.
- Save Settings: Once you have selected the desired ISO values, navigate to the option to save or apply the changes. This may involve pressing the “Set” button or a similar button to confirm your ISO settings.
- Exit Magic Lantern Menu: After saving your ISO settings, exit the Magic Lantern menu by pressing the “Menu” button or by navigating to the “Exit” or “Main Menu” option within Magic Lantern.
- Start Shooting: With ISO expansion enabled, you can now use the extended ISO values in your photography. These higher ISO settings can be helpful in low-light situations or when you need to increase the camera’s sensitivity to light.
Keep in mind that using ISO expansion may result in increased noise in your images, as the extended ISO settings are achieved through software manipulation rather than changes in the camera’s sensor sensitivity. It’s essential to test and evaluate the image quality at these higher ISO settings to determine if they meet your needs for a particular shooting situation.
Astrophotography Firmware Hack – Bulb Ramping
Bulb ramping is a technique used in astrophotography to smoothly adjust the exposure time as conditions change during a long exposure, such as when capturing a time-lapse sequence of the night sky. This technique helps maintain optimal exposure as the ambient light conditions evolve, like when the moon rises or sets. Here’s a step-by-step guide on how to perform bulb ramping in astrophotography:
Before You Start:
- Camera Setup: Mount your camera on a stable tripod or tracking mount to minimize vibration and ensure sharp images.
- Lens Selection: Choose a wide-angle lens with a fast aperture (e.g., f/2.8 or lower) to capture more of the night sky and allow more light to reach the sensor.
- Remote Shutter Release: Use a remote shutter release or intervalometer to control the camera’s shutter without touching it, which helps prevent camera shake during long exposures.
Step-by-Step Bulb Ramping Guide:
- Compose Your Shot: Set up your camera, compose your shot, and focus on a bright star or distant object using manual focus. Disable autofocus to prevent it from shifting during the shoot.
- Set Your Camera to Bulb Mode: Switch your camera to bulb mode, which allows you to control the exposure time manually. In bulb mode, the shutter remains open as long as the shutter release button is pressed.
- Determine Initial Settings: Set your camera to its initial exposure settings. This includes your desired aperture, ISO, and an estimated shutter speed for your initial exposure. These settings will depend on your subject and the ambient light conditions.
- Enable Intervalometer: Connect your intervalometer or remote shutter release, and program it to control the camera’s shutter duration for the bulb ramping sequence.
- Select the Bulb Ramping Mode: Some intervalometers have a bulb ramping mode specifically designed for this technique. If your intervalometer has this feature, select it.
- Set Up Your Bulb Ramping Parameters: Configure your intervalometer to control the bulb ramping sequence. This typically involves setting the start exposure time, end exposure time, and the total duration of the ramping sequence. You’ll also specify the intervalometer’s interval duration.
- Start the Sequence: Initiate the bulb ramping sequence by activating the intervalometer or remote shutter release. The intervalometer will gradually adjust the exposure time based on your specified parameters as the sequence progresses.
- Monitor the Sequence: While the bulb ramping sequence is underway, monitor your camera’s LCD screen or use a remote monitor to check the exposure results. Adjust your settings or abort the sequence if necessary.
- Post-Processing: After capturing the bulb ramping sequence, import the images into post-processing software like Adobe Lightroom or Adobe Photoshop. You may need to perform additional adjustments to fine-tune exposure and remove unwanted artifacts.
- Compile the Sequence: If you’re creating a time-lapse video, use video editing software to compile the individual frames into a smooth video clip.
m
Bulb ramping can be a complex technique, but it’s valuable for capturing stunning astrophotography sequences that smoothly adapt to changing light conditions. Practice and experimentation are key to achieving the best results, so don’t hesitate to refine your technique with each attempt.