The growth of digital technology has developed a counter culture of deliberately distorting images using technology to aestheticise digital errors. Collectively referred to as glitch art, digital files are purposefully corrupted or have their code manipulated to create a purposefully distorted image. Much in the same way that Photoshop can aid a photographer to realise their vision, the manipulation of the base code of an image can produce startlingly differing results by manipulating only a few lines of code in a text editor. Using notepad or text editor on a mac can take some time and can often corrupt an image entirely. An in depth knowledge of computer coding is necessary in order to complete this task from a manual point of view, but fortunately there are free tools online that allow you to manipulate and glitch your images for free.
In this article I tested three separate tools that each allow you to upload your chosen image, glitch it and then download again. Unfortunately the file sizes are small and the images that are exported are roughly 900 pixels on the long edge, which isn’t ideal, but will still make a decent print on half a side of A4. Other programs do exist that require you to download them, if you have any experience with those or recommendations then do leave a comment and links at the bottom of the post.
Glitchet is a fantastic place to start your research: http://www.glitchet.com/resources
Explore the different types of glitching that are making waves in the art world, the Glitchet facebook page is pretty good too, like it and stay up to date with all their latest posts.
Image Glitcher – Airtight Interactive
https://www.airtightinteractive.com/demos/js/imageglitcher/
This is a fairly simple glitcher with only two controls, upload your image and adjust the sliders. Glitchiness or Brightness are your only two controls, hit the glitch it button and it does the rest. The results are limited but good enough to get you started.


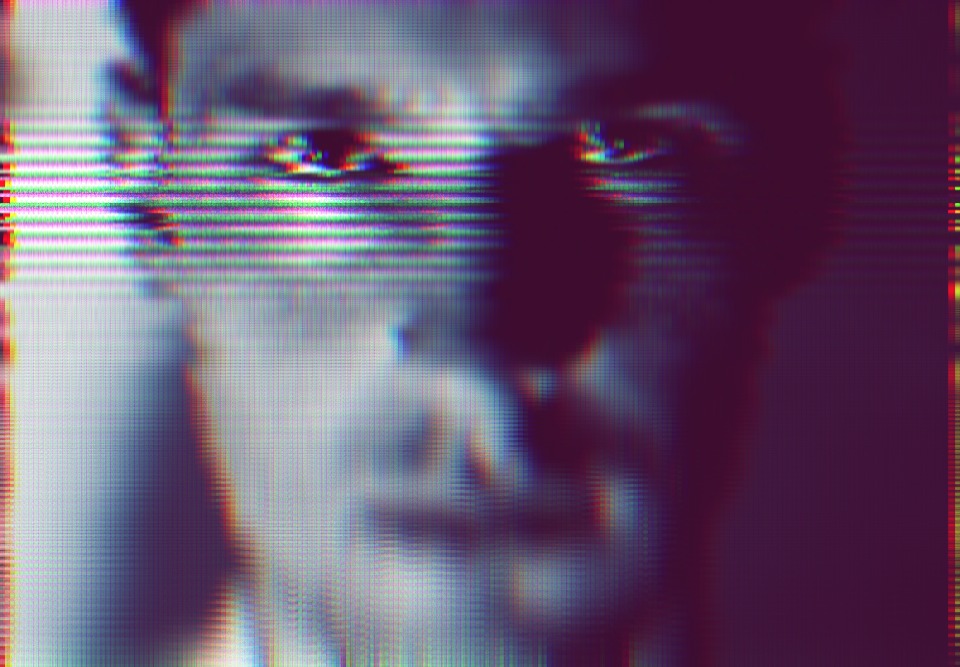
Image Glitch Tool – Snorpey
https://snorpey.github.io/jpg-glitch/


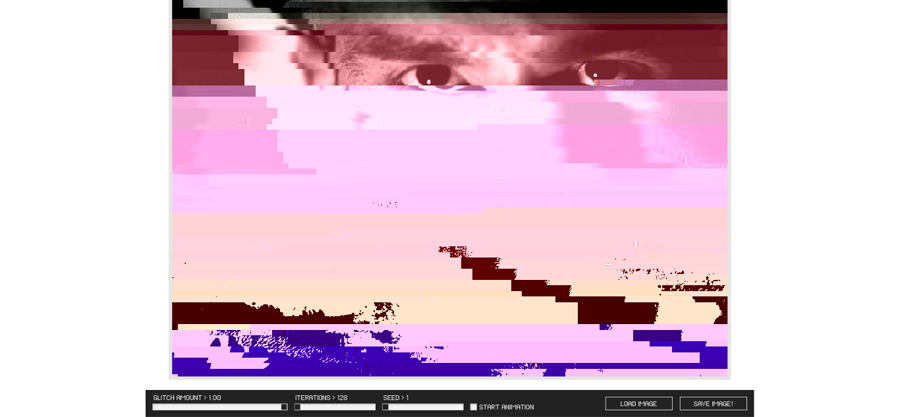
Glitch Map – Soulwire
http://blog.soulwire.co.uk/wp-content/uploads/2010/02/glitchmap.swf
what is pretty cool about this online glitch art editor is the fact that you can hit the ‘start animation’ button which works as a randomiser, watch the image morph in front of you and then switch it off again and tweak whats left to achieve the desired effect.

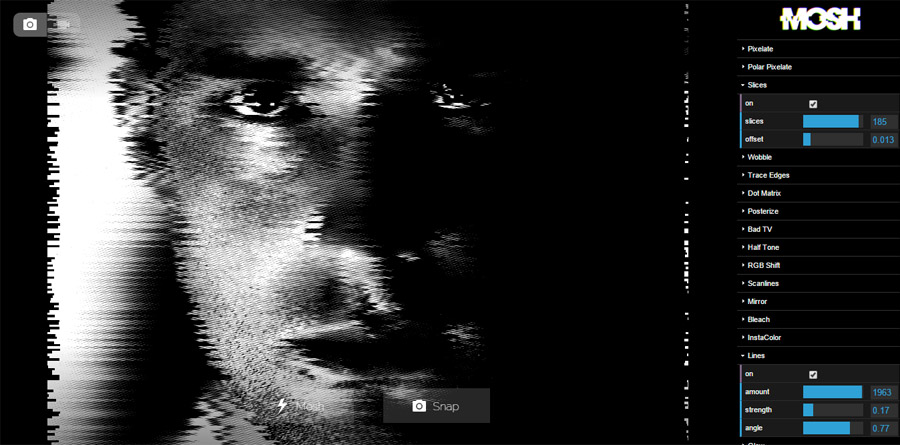
Mosh
https://getmosh.io/
The most versatile of the online glitch tools that I found. A plethora of tools along the right hand side of the window gives the creator increased control over the outcome. The ‘Mosh’ button at the bottom of the screen is another randomiser and lets you explore the variety of effects on offer relatively quickly. Again one can press the button and tweak at each stage to achieve the desired effect.

How to create a glitch animation
After exploring the possibilities of glitch art utilising what was available for free online, it’s only natural to want to expand and develop a topic and see where else it can lead us. The progression here was to integrate glitched stills into an animation. The setup is relatively simple, just one light on a person sat on a stool, the light angled at 45,45. The camera was set on burst mode as we wanted to create a sequence of images that resembled a video, whilst being able to manipulate individual frames and glitch them without the need for video editing software. The frame rate or burst rate of cameras varies quite dramatically, for this test we used a Canon 40D which has a frame rate of 6fps.
![]() By pressing the ‘drive’ button on your camera, you should be able to navigate past the self timer icon and look for burst or multi frame mode icon which looks like this. Some cameras have another even faster mode which has a ‘H’ next to the multi frame icon, but this is typically in higher end cameras. One thing that is worth noting is the size at which the websites will let you export you glitched images. Make sure that all of your images, both glitched and non glitched, are all saved to the same dimensions as this will save you time re-sizing each one later on. Once you’ve glitched your images save them back into the original sequence of images but with a -2 on the end, right click and then select ‘sort by name’ this way they will all be in sequence when you open them in Photoshop. I used Photoshop CS2 for this experiment, I’m not sure on earlier versions of Photoshop but am pretty certain that all following versions of the creative suite have an animation feature. Have a go at following the step by step below and if anything is confusing then let me know in the comments and I will endeavor to improve the explanation
By pressing the ‘drive’ button on your camera, you should be able to navigate past the self timer icon and look for burst or multi frame mode icon which looks like this. Some cameras have another even faster mode which has a ‘H’ next to the multi frame icon, but this is typically in higher end cameras. One thing that is worth noting is the size at which the websites will let you export you glitched images. Make sure that all of your images, both glitched and non glitched, are all saved to the same dimensions as this will save you time re-sizing each one later on. Once you’ve glitched your images save them back into the original sequence of images but with a -2 on the end, right click and then select ‘sort by name’ this way they will all be in sequence when you open them in Photoshop. I used Photoshop CS2 for this experiment, I’m not sure on earlier versions of Photoshop but am pretty certain that all following versions of the creative suite have an animation feature. Have a go at following the step by step below and if anything is confusing then let me know in the comments and I will endeavor to improve the explanation

This is the first result which is the original sequence plus the glitched individual frames added using Mosh
After that it was just a case with experimenting with layers and seeing what other effects could be achieved, this is the same animation with some of the layers simply moved with the move tool.
This sequence has many parts of different layers erased using a large soft eraser brush in Photoshop
The final video has the eyes from all but the base image erased, they were selected with the rectangular marquee tool and deleted. Remember to save the Photoshop file when your basic animation is done, then you’re free to manipulate, distort and create knowing that you don’t have to complete the first steps again.